I have used the following steps to create a custom rich text control inside a page layout.
Create a custom content type
Go to site settings > Galleries > Site Content Types > Create > followed by the screenshot as mentioned below
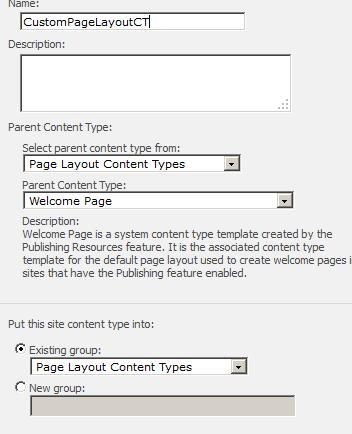
Save the content type and you will be redirected to the newly created content type modification page. Scroll below and you will the see option “Add from new site column”.
Click on that and create a custom site column. Follow the screenshot below:
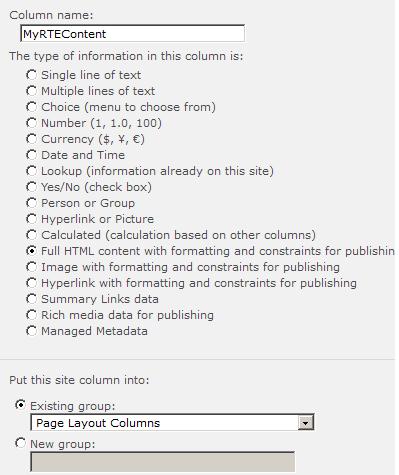
Page Layout
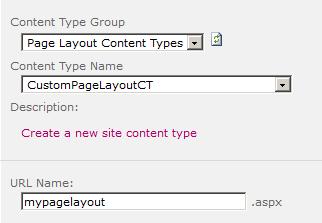
Then create your page layout (site settings > galleries> master page and page layouts) using the newly created custom content type. Refer to the screenshot below
Now edit this page layout in SharePoint designer and drag the publishing column from the toolbox > SharePoint Controls > Content Fields as shown in the below screenshot.
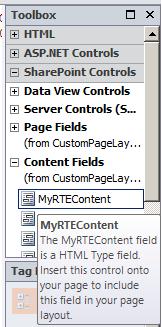
Once dragged in the required region of the page (generally inside a div or a table) you will a markup generated by SharePoint something like this :
<PublishingWebControls:RichHtmlField FieldName="6946f02c-c941-452e-be99-14126eb266ef" runat="server"></PublishingWebControls:RichHtmlField>Now modify this to give it a field name so that it appears during the edit page mode.
<PublishingWebControls:RichHtmlField InputFieldLabel="centercontentbox" FieldName="6946f02c-c941-452e-be99-14126eb266ef" runat="server"></PublishingWebControls:RichHtmlField>Save the page layout.
Pages Document Library (assuming you have publishing feature activated)
Go to the document library where your landing page or the page where you want the rich text content to come. This is generally Pages library or Site Pages Library. Go to library settings and add from existing content type to this library as shown below
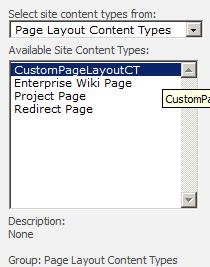
Set this page layout as a default one for your wiki page
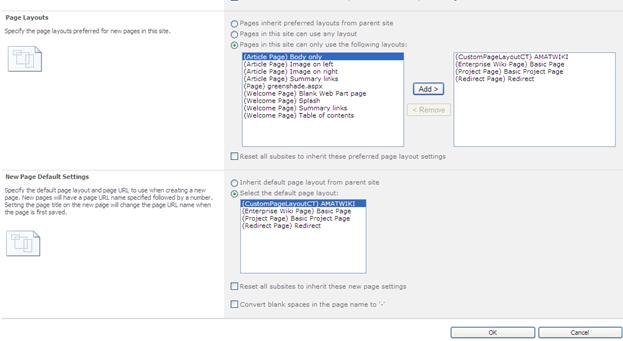
Almost there! Navigate to your publishing site, in this case the Enterprise Wiki Site, then go to Site Actions > Site Settings > Page layouts and site templates (Under Look and Feel). Here you’ll be able to make the new Page Layout available for use within the site.
Now when create a page you will have the richtextbox control come up with a name “Centercontentbox” with chrome surrounding it. All it needs is no messed up RTE or edit mode css included within the master page.
