You use Cron Jobs to schedule various IT tasks. In addition, Cron Jobs allows you to automate specific commands or scripts on your server to complete repetitive tasks automatically.
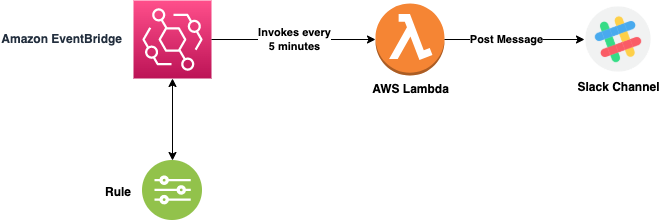
This article will show you how to create a simple scheduled task using AWS Lambda and Amazon EventBridge to post messages to a Slack channel.
The AWS Services
There are two AWS services involved in building the scheduled task on AWS which are:
Amazon EventBridge Rule: Amazon EventBridge delivers a near real-time stream of system events that describe Amazon Web Services (AWS) resources changes. You can also use EventBridge Events to schedule automated actions that self-trigger at specific times using cron or rate expressions.
AWS Lambda Function: AWS Lambda is a compute service that lets you run code without provisioning or managing servers. Lambda runs your code on a high-availability compute infrastructure and performs all the administration of the compute resources, including server and operating system maintenance, capacity provisioning and automatic scaling, code monitoring, and logging. You can run code for virtually any application or back-end service with Lambda. All you need to do is supply your code in one of the languages that Lambda supports.
Situation
Slack Workflow Builder is a visual tool that allows Slack users to automate routine functions by creating custom workflows. For example, the Scheduled date and time workflow trigger start automatically at a set date and time. But the problem with this trigger is that we cannot trigger the workflow every hour or minute. Instead, we must create duplicates of a scheduled workflow for different time schedules, which may not be a good solution. However, you can set up an Amazon EventBridge rule to run an AWS Lambda function on a schedule to overcome this limitation.
Prerequisites
- AWS Lambda Layer for Python requests package
- Bot App registered with Slack Workspace with the necessary access token and permission scope to post message and read user details
- Bot App installed on the target Slack channel
Step 1: Create an AWS Lambda function
- Open the AWS Lambda console.
- Choose Create Function.

- Choose Author from scratch.
- Enter a Function name. For example, name the function slack-bot.
- Select Python 3.9 as Runtime
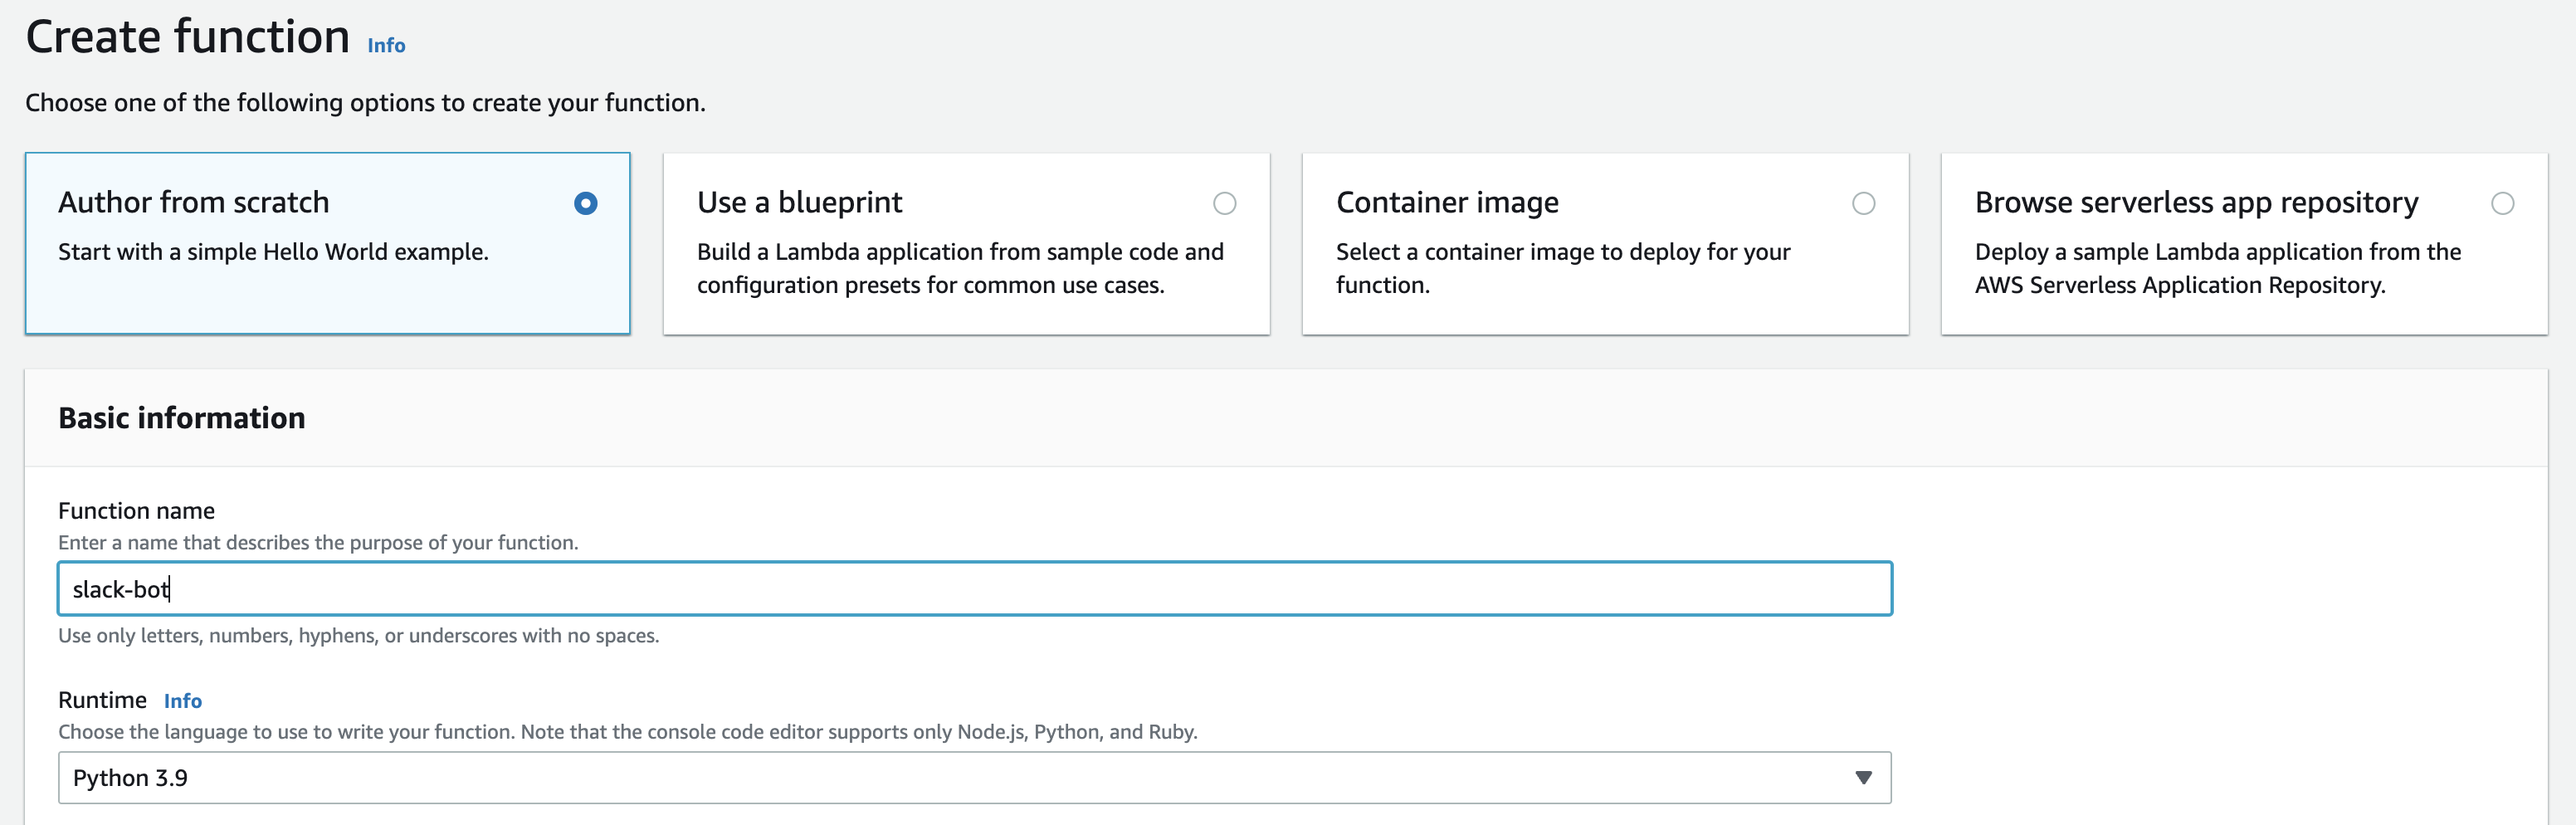
- Leave the rest of the options as the defaults and choose Create Function.
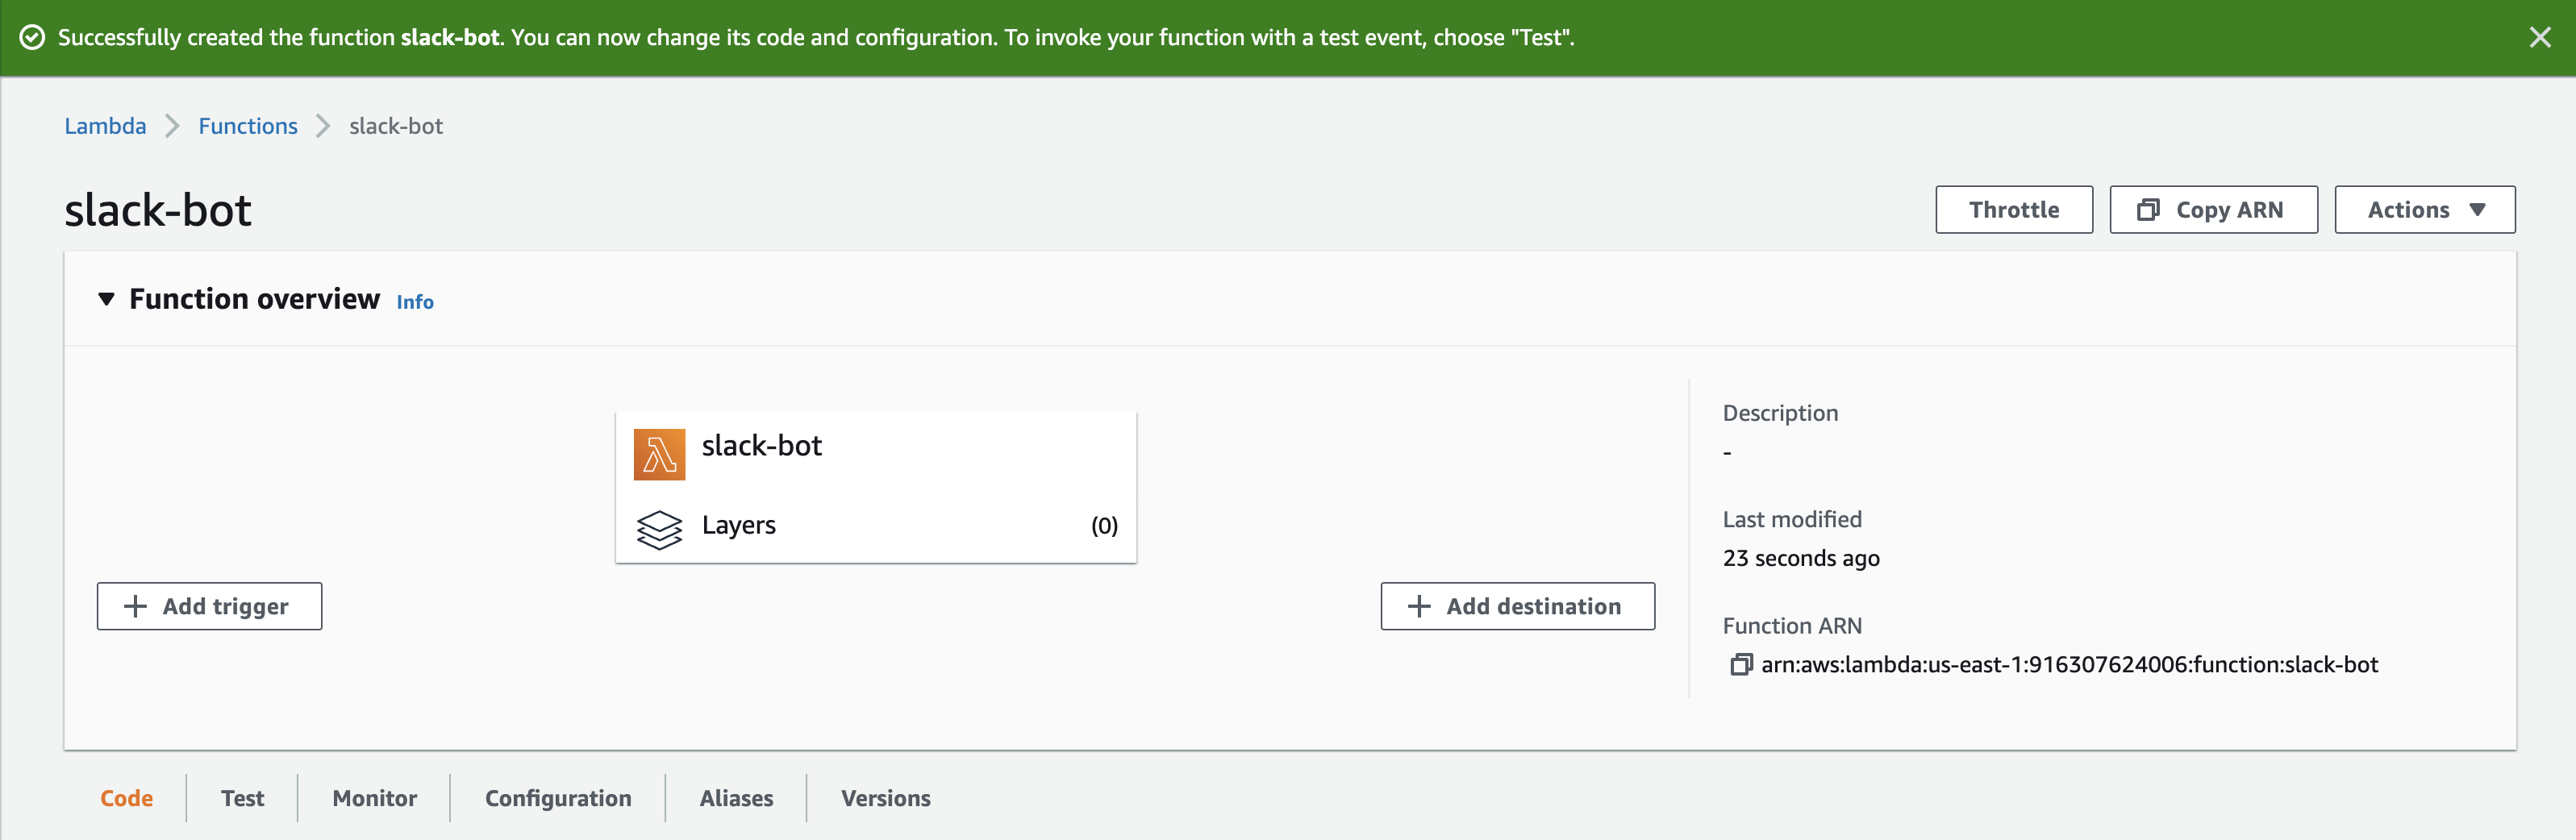
- On the Code tab of the function page, double click on lambda_function.py. Replace the existing code with the following code.
import requests
import json
from logging import exception
SLACK_INSTANCE_NAME = "your-slack-instance-name"
SLACK_TOKEN = "your-slack-token"
SLACK_BOT_USERNAME = "your-bot-username"
SLACK_CHANNEL_ID = "your-slack-channel-id"
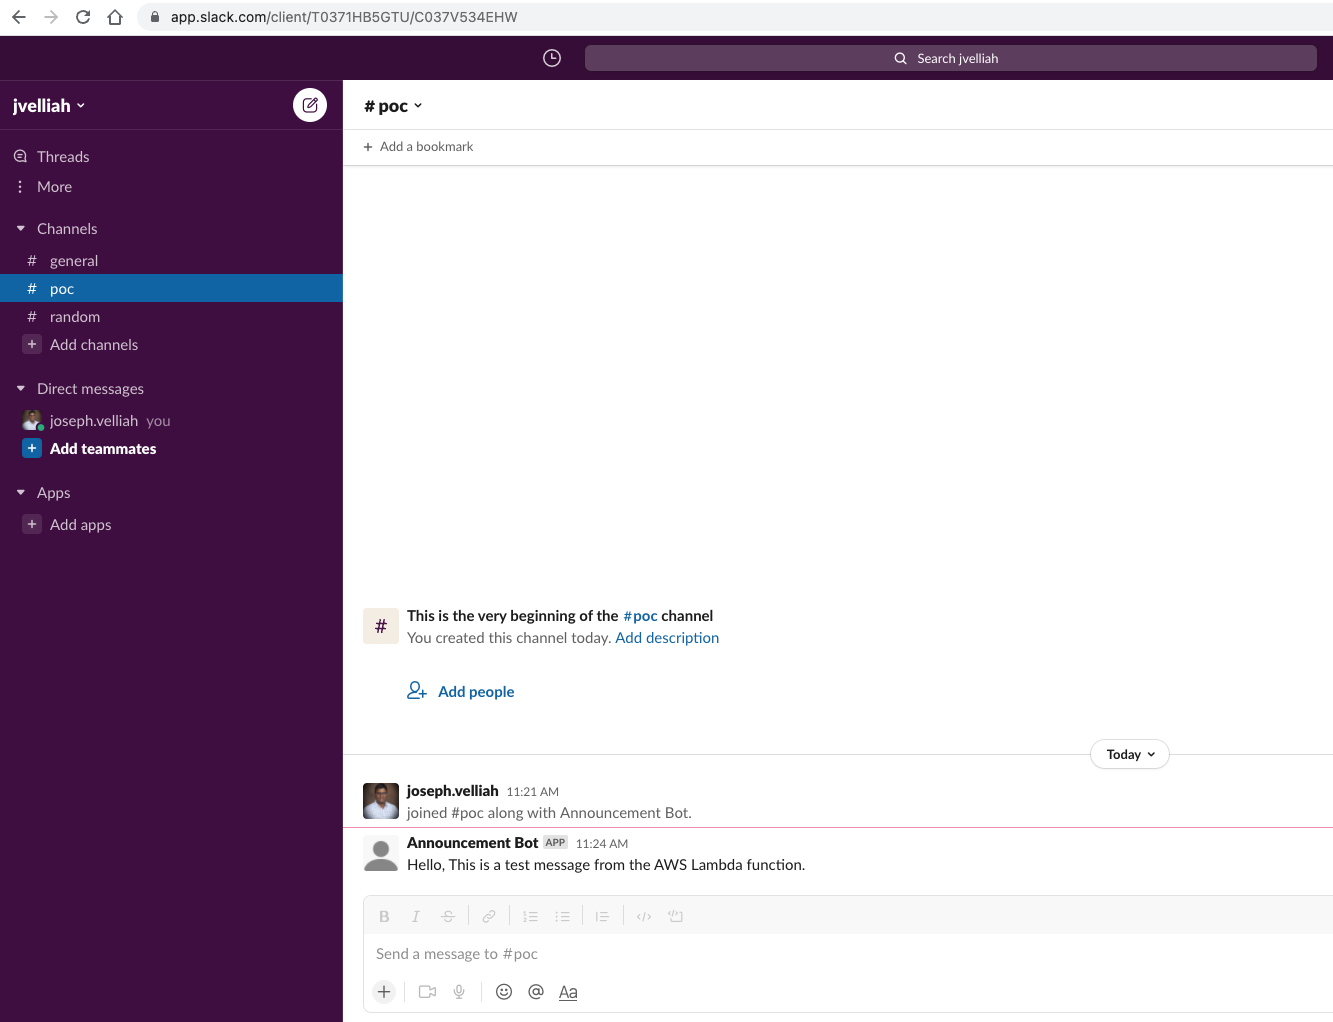
SLACK_MESSAGE = "Hello, This is a test message from the AWS Lambda function. "
def post_message_in_slack(channel_id, message, posted_by):
try:
headers = {
'Authorization': 'Bearer ' + SLACK_TOKEN,
'Content-Type': 'application/json',
'accept': 'application/json'
}
payload = json.dumps({
"channel": channel_id,
"text": message,
"username": posted_by
})
url = f'https://{SLACK_INSTANCE_NAME}.slack.com/api/chat.postMessage'
response = requests.post(url, headers=headers, data=payload)
message = response.json().get('message', None)
return message
except requests.exceptions.RequestException as err:
raise exception(err)
def lambda_handler(event, context):
try:
message = post_message_in_slack(
SLACK_CHANNEL_ID, SLACK_MESSAGE, SLACK_BOT_USERNAME)
messageId = message.get('ts', None)
return {
'statusCode': 200,
'body': json.dumps('Message posted! Message ID: ' + messageId)
}
except Exception as err:
return {
'statusCode': 400,
'body': json.dumps(str(err))
}
NOTE: Update the environment-specific values in the sample code.
- Under Layers, choose Add a layer.
- For the Specify an ARN layer source:
- Enter the requests layer ARN in the text box and choose Verify.
- Choose Add.
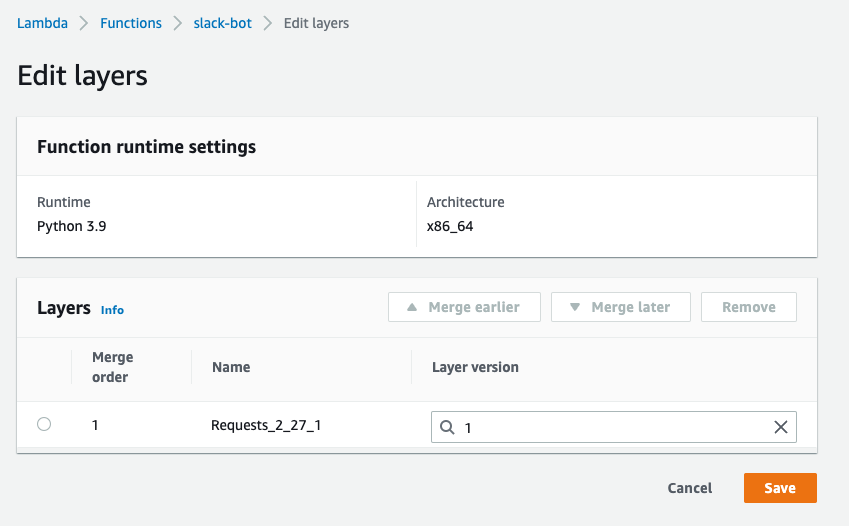
- Choose Deploy.
Step 2: Create Amazon EventBridge Rule
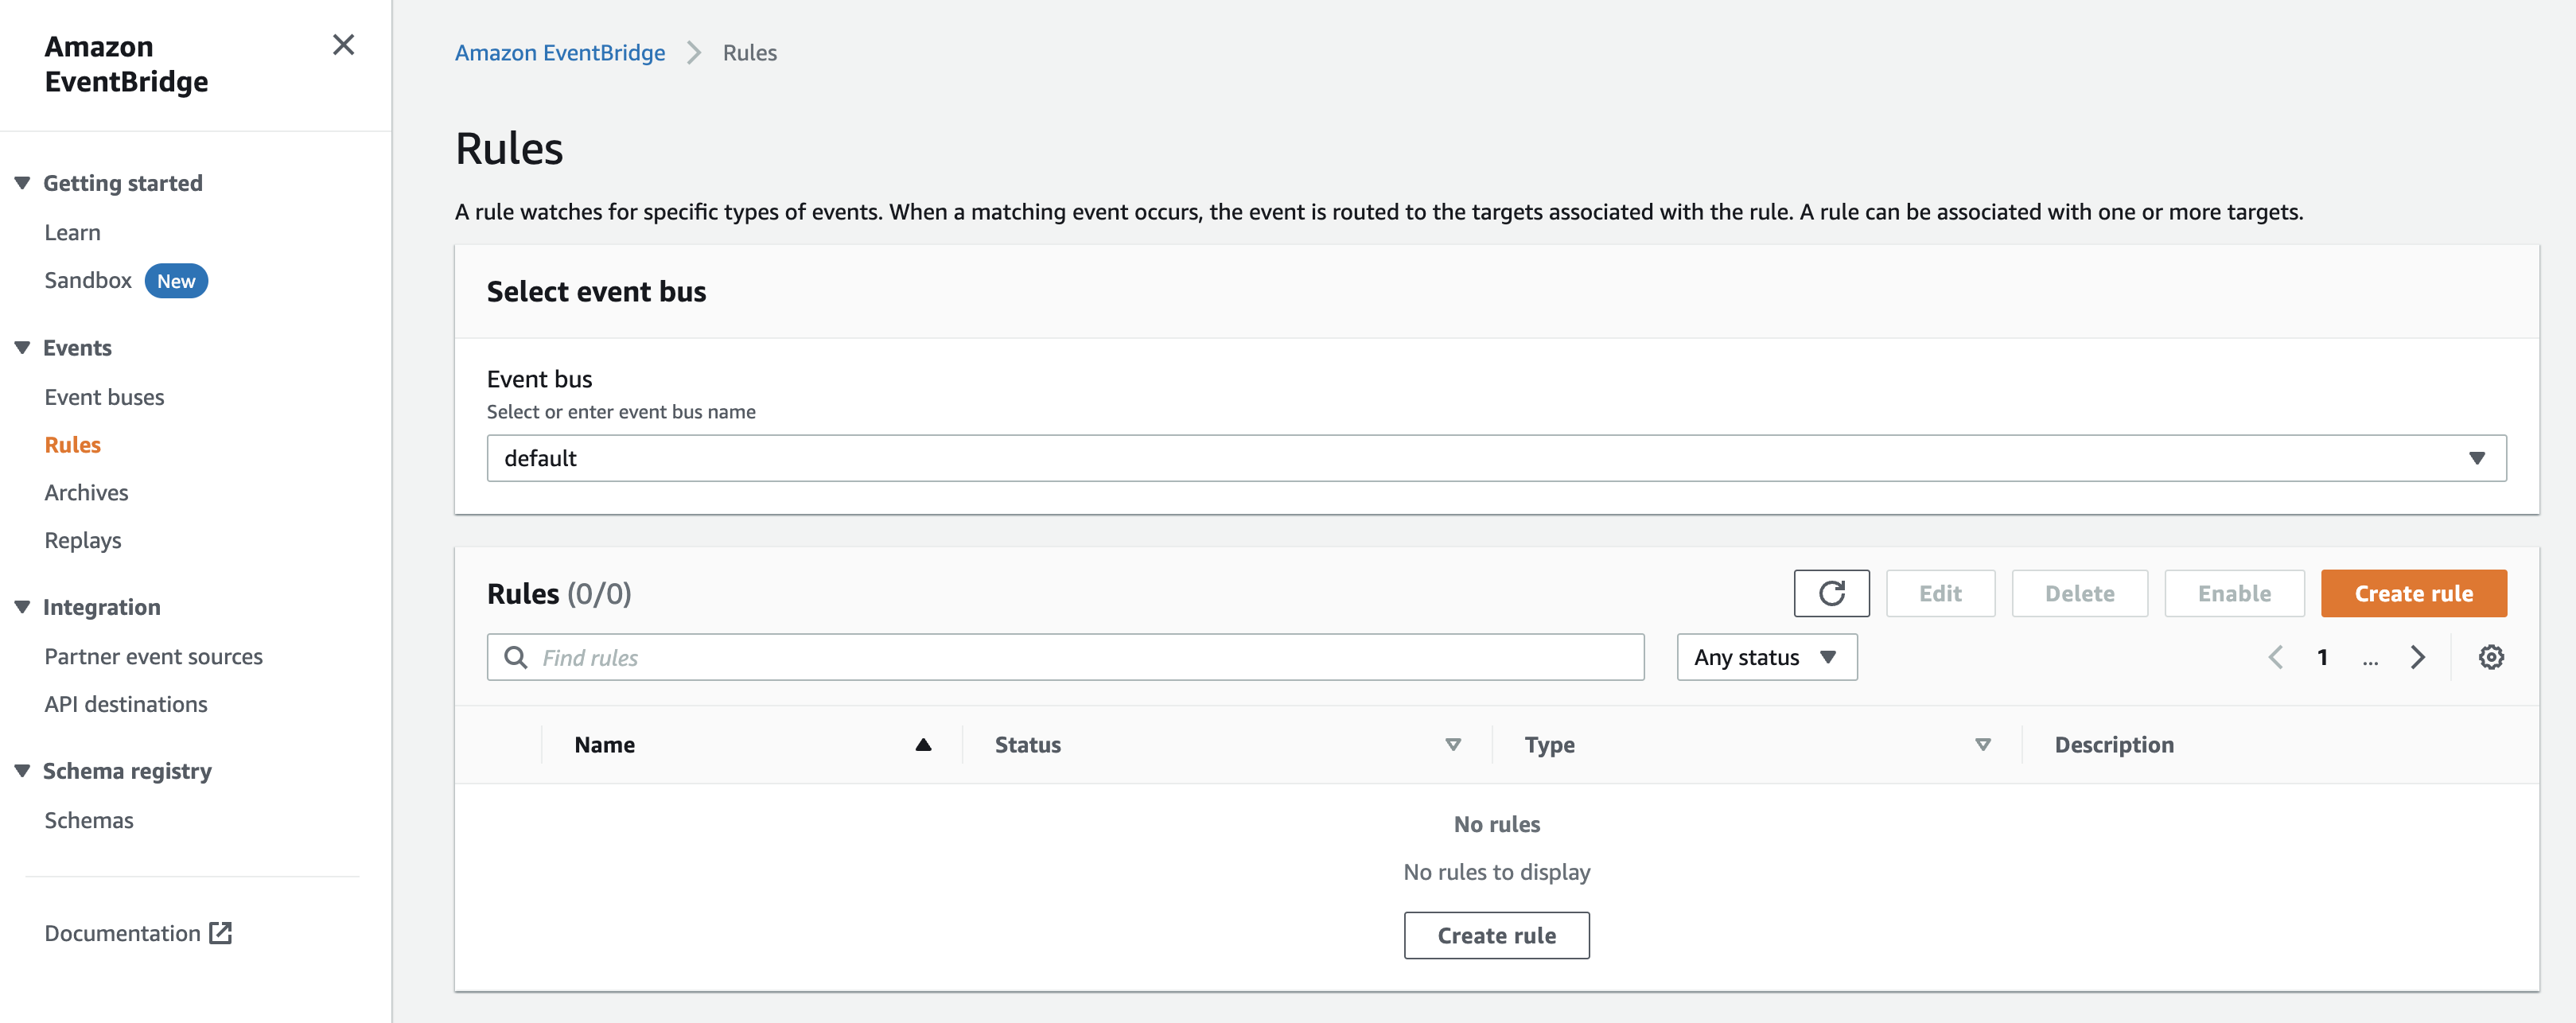
- Open the Amazon EventBridge console.
- In the navigation pane, choose Rules. Choose Create rule.
- Enter a name and description for the rule.
- For Select event bus, choose AWS default event bus. Scheduled rules are supported only on the default event bus.
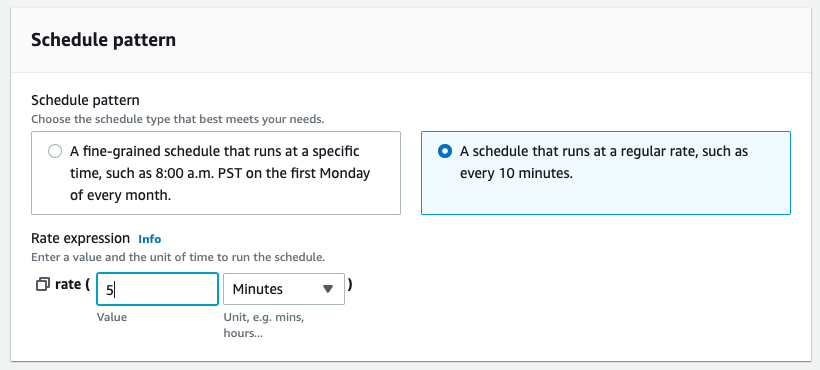
- For Define pattern, do the following:
- Choose Schedule.
- Choose A schedule that runs at a regular rate, such as every 10 minutes. and specify the schedule interval, for example, 5 minutes.

- For Target, choose Lambda function.
- For Function, select the Lambda function that you created in step 1.

- Choose Create.
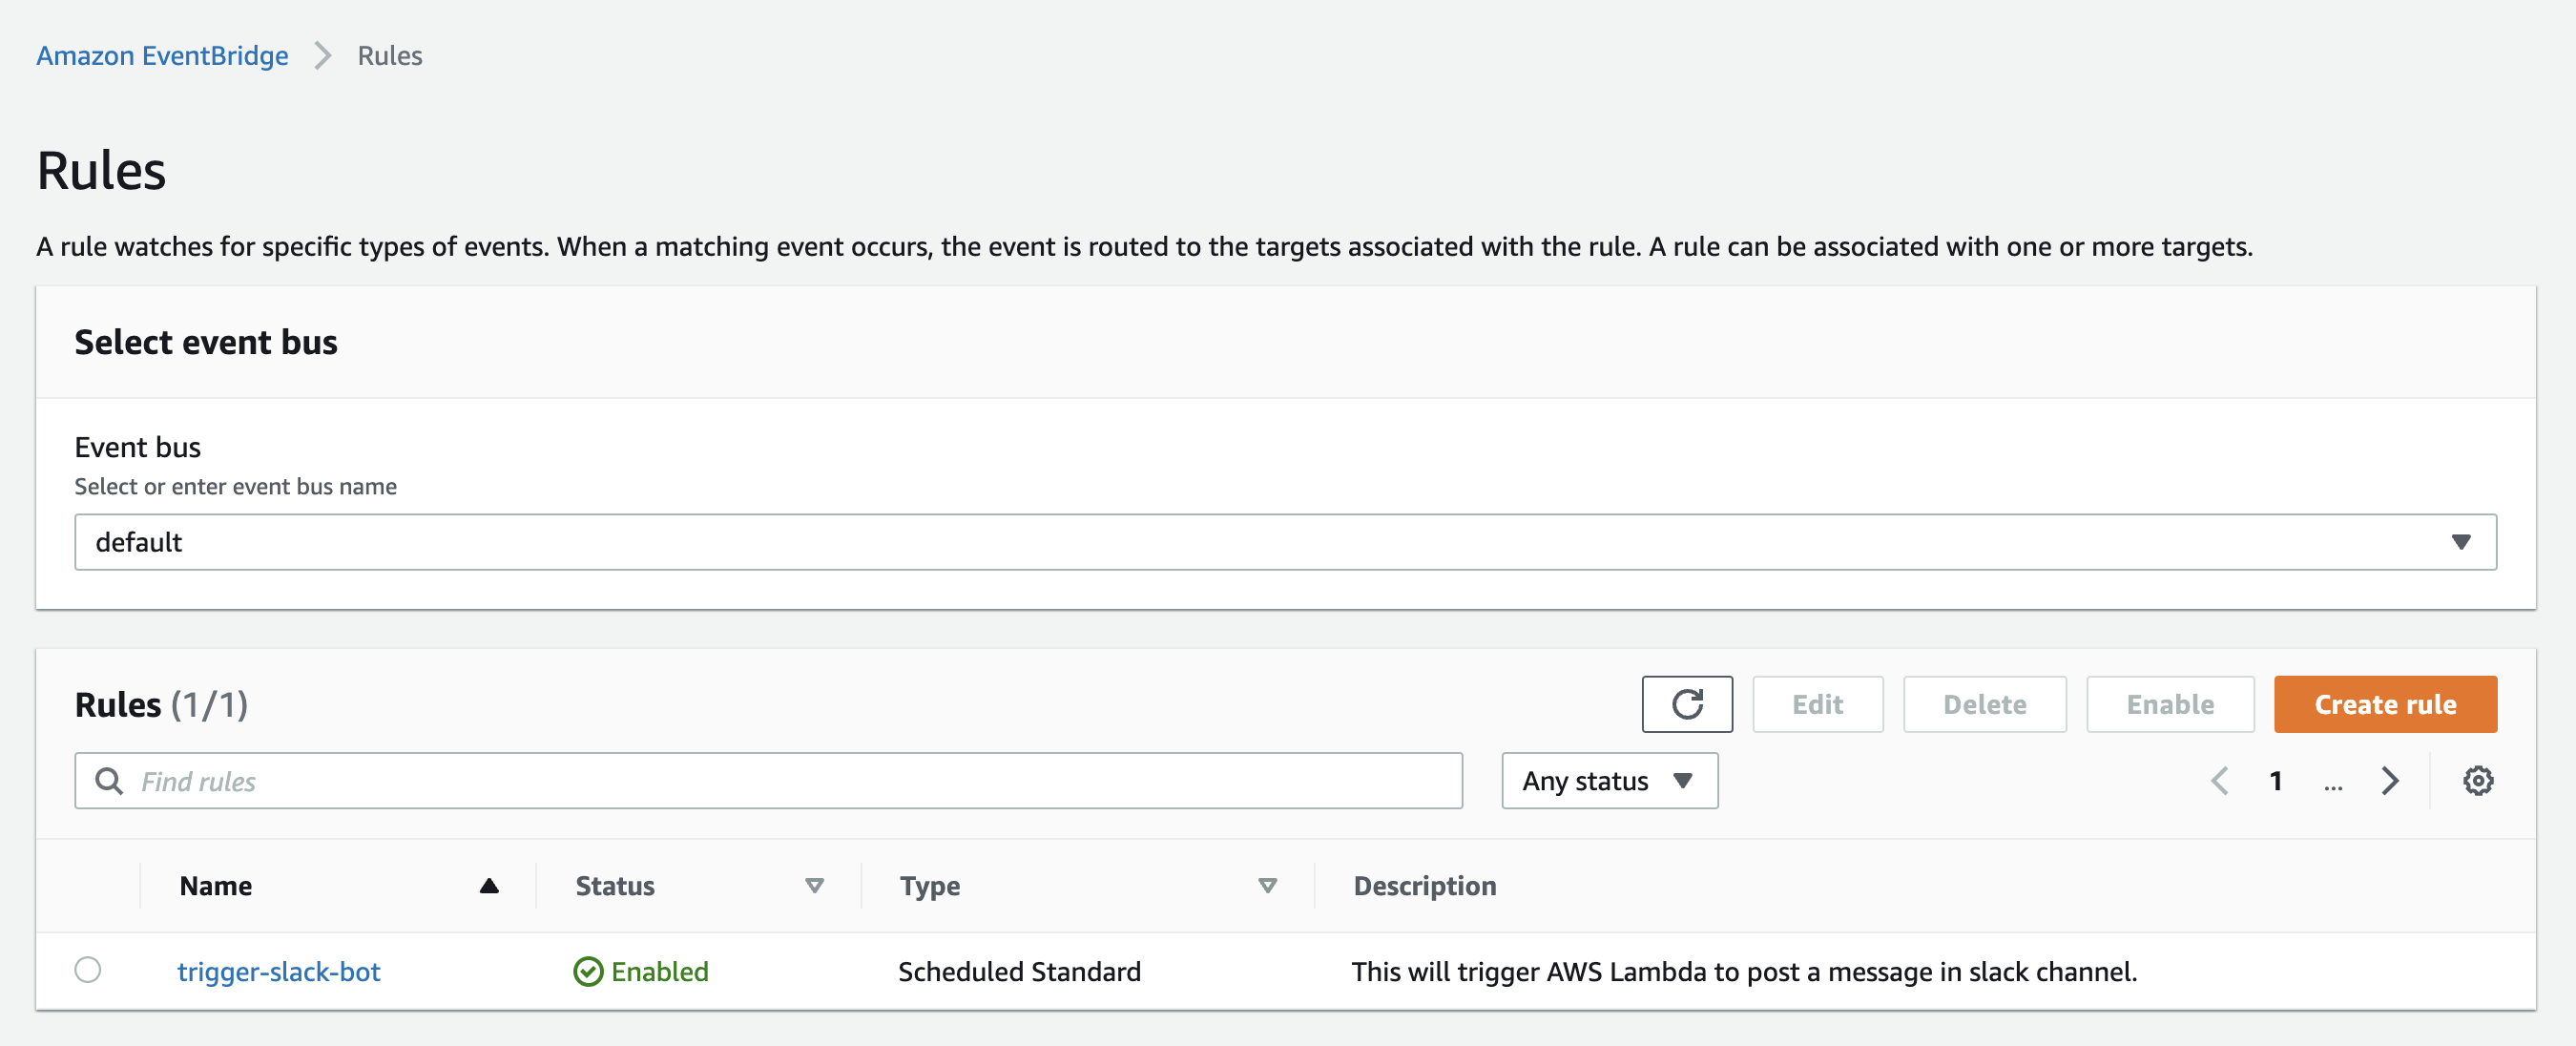
This rule will be triggered every 5 minutes, and it will also trigger our Lambda function accordingly.
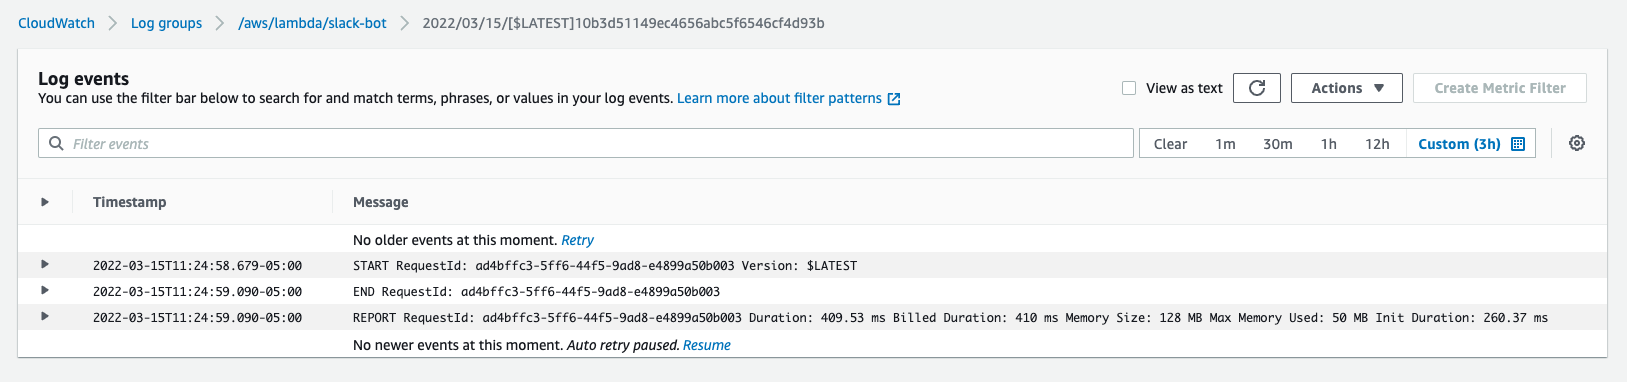
If you see the Lambda event in the CloudWatch logs, you can see the message posted in the Slack channel.
Thank you for reading this article. I hope it helped you in some way.