Now you can roll-up calendars from different websites because SharePoint 2010 offers calendar overlays. Calendar overlays allow you to create independent calendars in any SharePoint site and then create an overlay that “rolls-up” the data onto one master calendar.
There is little configuration to set up a single or multiple calendar overlay. Below are the basic steps you would follow:
- Within your team site create a standard calendar
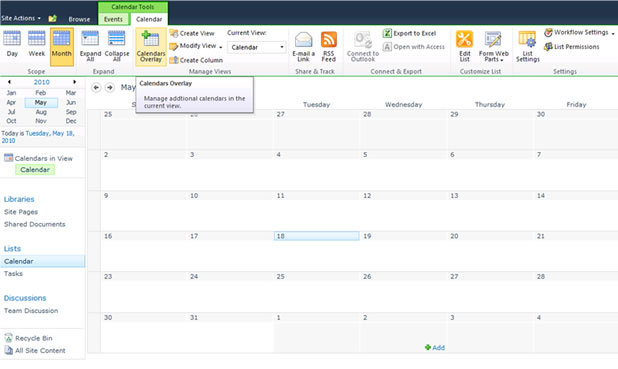
- From the ribbon click on the “Calendar” tab
- Click on the “Calendar Overlay” icon

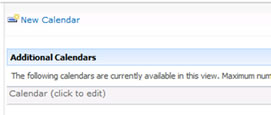
- From the Calendar Overlay Settings screen click the link called “New Calendar”

- Enter a name for the calendar and the URL where the calendar is located
- Click the resolve button to connect to the site
- From the List drop down, select the desired calendar
- From the List View drop down, select the desired view
- Place a checkmark in the “Always Show” box if you want this calendar to always be visible
- Click OK to add this new calendar as an overlay on your master calendar.
A few other options available with Calendar Overlays are:
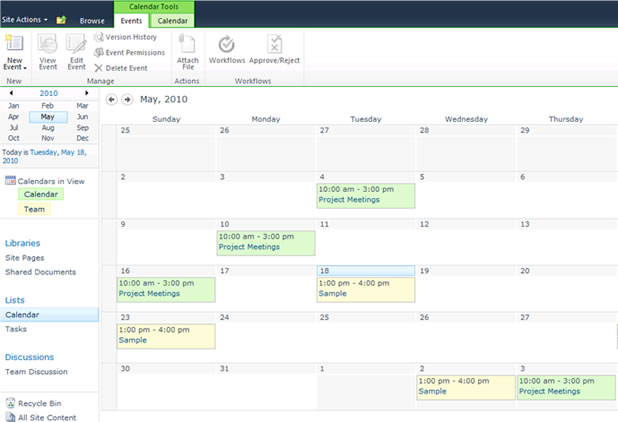
- Color coding the events on other calendars
- Pulling calendars from Exchange (such as Outlook team calendars)
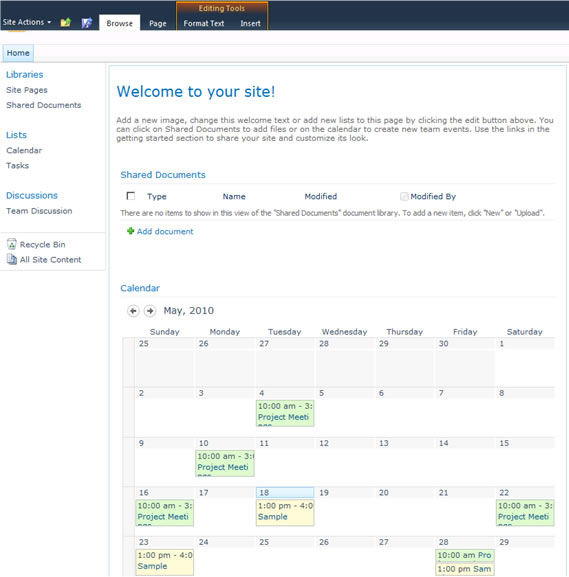
- Calendar overlays render when added as web parts to a page
The final product:


