Microsoft Graph is the gateway to data and intelligence in Microsoft 365. Microsoft Graph provides a unified programmability model that you can use to take advantage of the tremendous amount of data in Office 365, Enterprise Mobility + Security, and Windows 10.
You can use the Microsoft Graph API to build apps for organizations and consumers that interact with the data of millions of users. With Microsoft Graph, you can connect to a wealth of resources, relationships, and intelligence, all through a single endpoint: https://graph.microsoft.com.
Register Application
In order to call Graph API you need to have a registered application within Azure Active Directory that has delegated permissions for the API application.
- Sign in to your Application Registration Portal(https://apps.dev.microsoft.com).
- Click on the “Add an app” button.
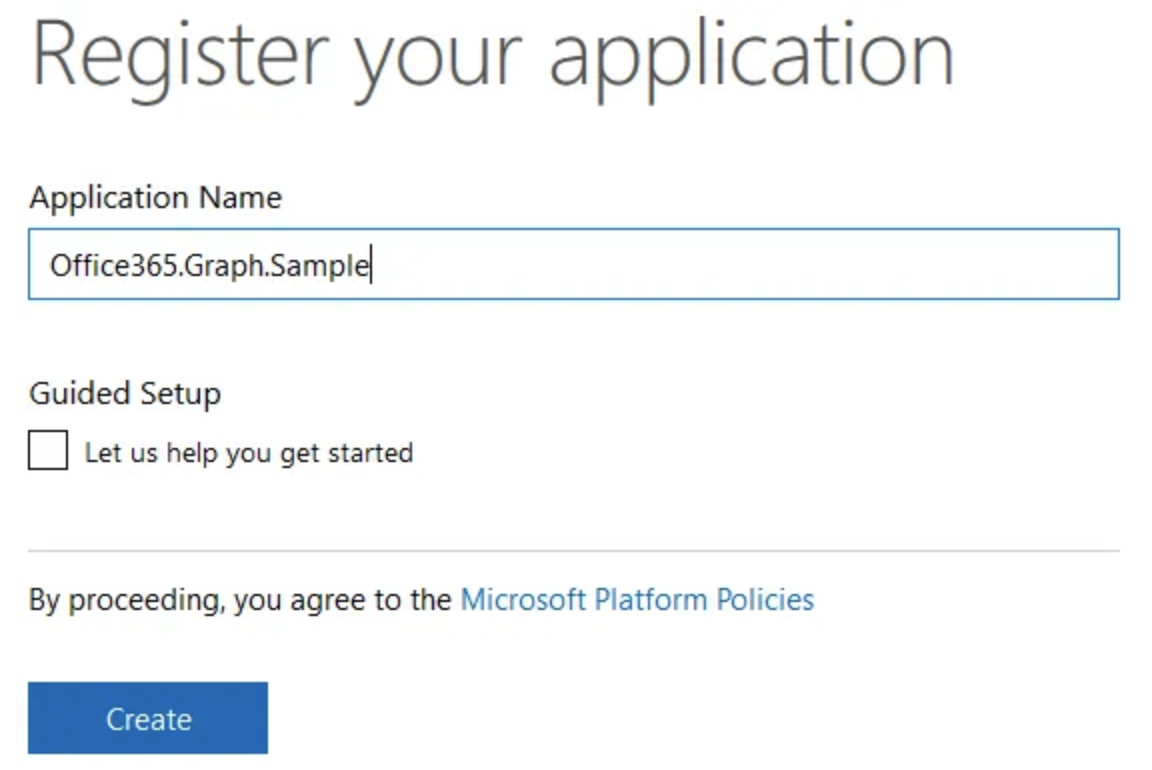
- Enter the app name and click the “Create” button to proceed further.
- Copy Application Id(Client Id) and save it.

- Now you need to create the Application Secret. To do so click on the “Generate New Password” button as shown below. Once you click the button a pop-up screen will appear displaying the generated one time password. Copy the password and save it securely. Then click the “Ok” button as shown below.

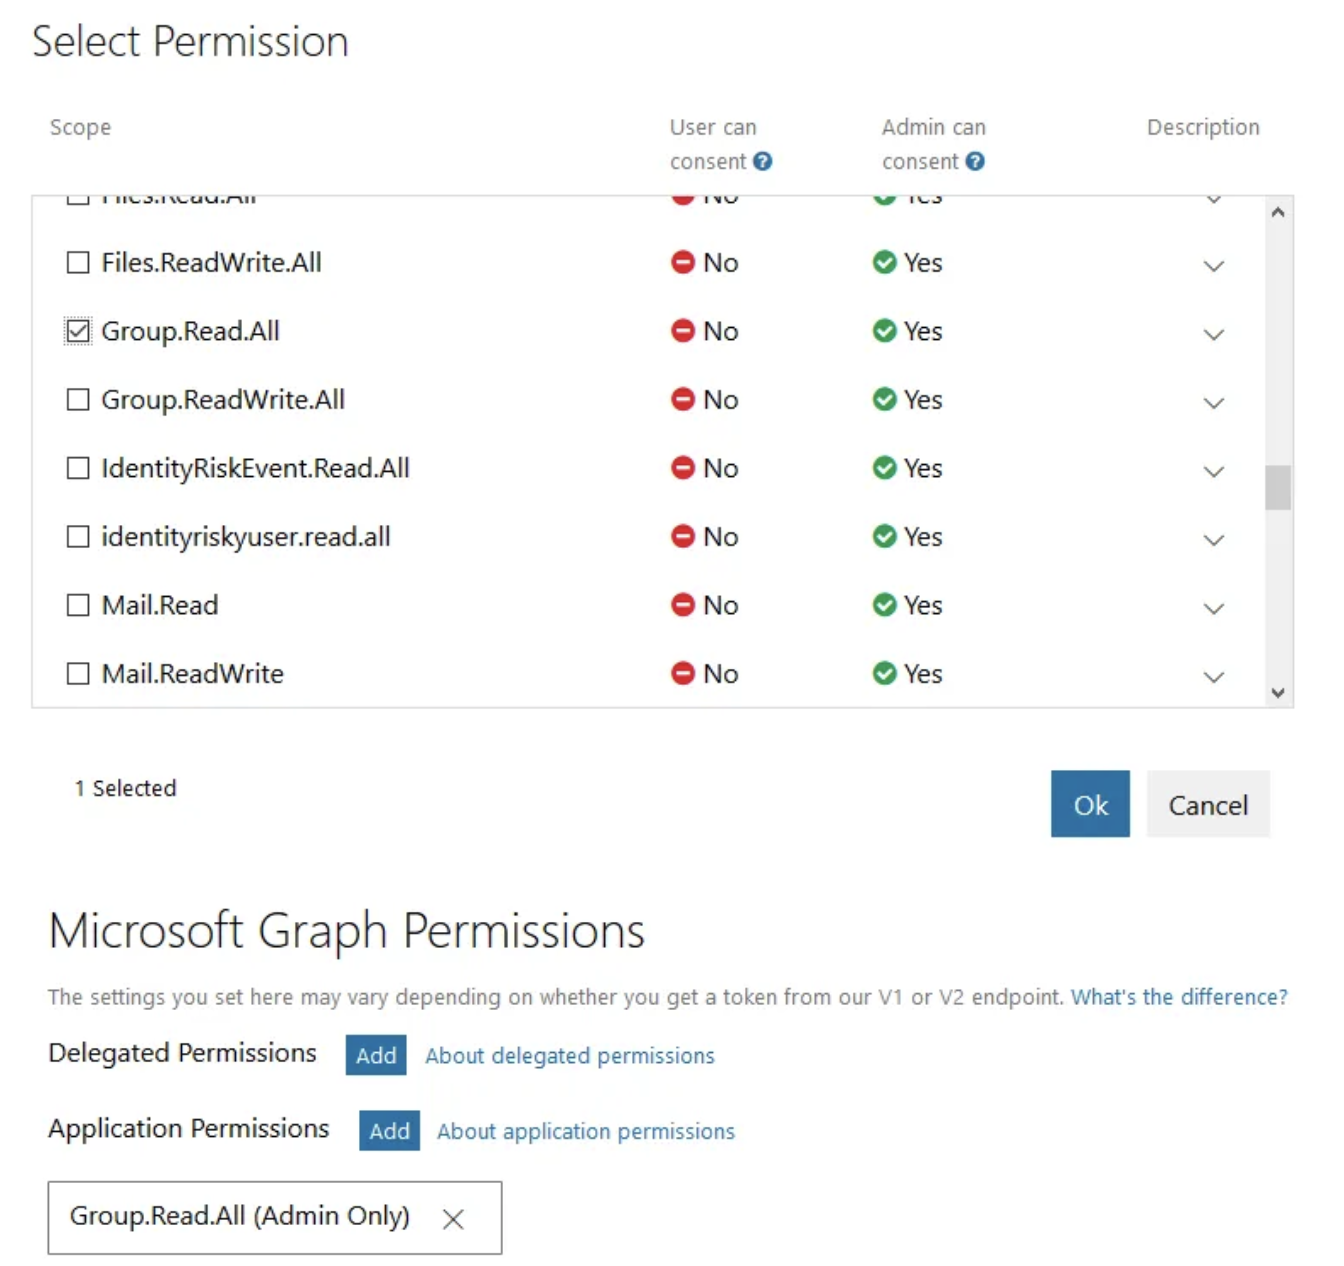
- Add the Microsoft Graph Permission as shown below
- Click on the “Save” button to update the changes you made.
Grant Admin Consent
Application permissions are used by apps that run without a signed-in user present; for example, apps that run as background services or daemons. Application permissions can only be consented by an administrator.
To grant admin consent through a URL request:
- Construct a request to login.microsoftonline.com with your app configurations and append on &prompt=admin_consent.
- After signing in with admin credentials, the app has been granted consent for all users.
Execute Console Application
- Download the code sample from this link.
- Open the solution in Visual Studio.
- Update the following values in the App.config file
- TenantId – Office 365 Tenant Identity
- ClientId – Application Id copied in the app registration process
- ClientSecret – Password / Public Key copied in the app registration process
- Save and Execute the console application
Output
Note: Output may vary based on the groups created in your tenant.
Special thanks to @Arutvicky for the code cleanup.