In Kubernetes, effectively managing microservices is critical for the seamless operation of cloud-native applications. A service mesh, like Istio, offers a robust solution to the complexities of service-to-service communication, ensuring that microservices can interact securely and efficiently. This article explores the deployment of microservices on Amazon Elastic Kubernetes Service (EKS) using Istio, providing a straightforward guide to harnessing these technologies for improved microservice management.
Understanding the Challenges
While flexible and scalable, Microservices architectures introduce challenges in communication, discovery, load balancing, fault tolerance, security, observability, traffic management, and policy enforcement, a service mesh addresses these challenges by providing an infrastructure layer that facilitates efficient and secure communication between services.
Deploying on Amazon EKS with Istio
Istio and Amazon EKS provide a powerful platform for deploying and managing microservices. App Mesh takes care of the communication and management aspects, allowing developers to focus on building their applications without worrying about the underlying infrastructure.
Prerequisites
Before starting, it is essential to ensure that all necessary prerequisites are met to facilitate a smooth and efficient setup. Please review the following requirements:
-
AWS Account: An active AWS account is required to provision all the necessary resources. If you do not have an account, please create one at the AWS website.
-
AWS CLI: The AWS Command Line Interface (CLI) should be installed and configured on your machine. This tool allows you to interact with AWS services directly from your terminal. For installation instructions and configuration steps, visit the AWS CLI documentation.
-
kubectl: The Kubernetes command-line tool, kubectl, allows you to run commands against Kubernetes clusters. It is essential for managing and deploying applications on Kubernetes. For installation guidance, refer to the official kubectl documentation.
-
eksctl: eksctl is a simple CLI tool for creating clusters on Amazon EKS, making it easier to create and manage Kubernetes clusters on AWS. Installation instructions can be found on the eksctl page.
-
Knowledge Base: A basic understanding of Docker, Kubernetes, and AWS services is crucial. Familiarity with these technologies will help you navigate the deployment and testing process more effectively.
Create an EKS Cluster
First, create an EKS cluster using eksctl, a simple CLI tool that simplifies the process. A basic command to create a cluster might look like this:
eksctl create cluster \
--name aws-eks-appmesh-cluster \
--version 1.28 \
--region us-east-1 \
--zones us-east-1b,us-east-1d \
--nodegroup-name linux-nodes \
--node-type t3.medium \
--nodes 2
Define Your Microservices
For this demonstration, two simple Python Flask applications will be used: Service A (a web frontend) and Service B (a backend service). These services illustrate basic inter-service communication managed by Istio. The source code for both services is available in my GitHub repository for review and use.
from flask import Flask
import requests

app = Flask(__name__)


@app.route("/")
def hello():
    response = requests.get("http://blog1-service-b:5001")
    return "Service A calling Service B: " + response.text
from flask import Flask

app = Flask(__name__)


@app.route("/")
def hello():
    return "Hello from Service B!"
Use Pre-built Images from Docker Hub
Instead of the traditional approach of building and pushing Docker images to Amazon ECR, I have provided pre-built images for Service A and Service B on my Docker Hub repository. This adjustment significantly streamlines the deployment process, allowing direct use of these images in your Kubernetes deployment manifests.
The images are under josephvelliah/blog1-service-a:latest and josephvelliah/blog1-service-b:latest. These are ready to be deployed, eliminating the need for manual image preparation.
Setting Up istioctl Locally
To begin working with Istio, the first step is to set up the istioctl command-line tool on your local machine. This tool provides a comprehensive set of commands to manage Istio service meshes. Here’s how to download and set it up:
Open a terminal and run the following command to download the latest version of Istio. This command fetches the Istio installation package and extracts it in the current directory.
curl -L https://istio.io/downloadIstio | sh -
Once Istio is downloaded, you need to add the istioctl binary to your system’s PATH to execute it from any directory. Replace /Users/jvelliah/downloads with the actual path to where you have Istio extracted. The following command assumes Istio version 1.20.3 is being used:
export PATH=/Users/jvelliah/downloads/istio-1.20.3/bin:$PATH
To confirm that istioctl is correctly installed and accessible, run:
istioctl version
This command displays the version of istioctl, verifying that the tool is ready for use.
Setting Up Istio Mesh on EKS Cluster
After setting up istioctl locally, the next step is to configure an Istio service mesh on your Amazon EKS cluster. Follow these steps to deploy Istio and enable automatic sidecar injection for a namespace:
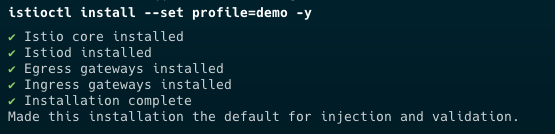
Utilize the istioctl tool to install Istio on your EKS cluster. The following command installs Istio with the demo profile, which is suitable for evaluation and getting a feel for Istio features:
istioctl install --set profile=demo -y
Ensure the Istio installation was successful by running:
istioctl verify-install
This command checks that all necessary components are correctly installed and operational.
Now, create a dedicated namespace where the Istio mesh will be active. The following command creates a namespace named aws-eks-istiomesh-ns:
kubectl create namespace aws-eks-istiomesh-ns
To automatically inject Istio sidecar proxies to your pods in this namespace, label the namespace with istio-injection=enabled:
kubectl label namespace aws-eks-istiomesh-ns istio-injection=enabled
Finally, to ensure everything is set up correctly and there are no issues within your Istio service mesh, run:
istioctl analyze

This command analyzes the current state of the mesh and reports any detected issues, helping you ensure a smooth Istio operation on your EKS cluster.
Deploying Kubernetes Manifests
Deploying your application to Kubernetes involves applying manifest files that describe the desired state of your application’s resources. Follow these steps to deploy your application and verify its components are correctly running within your EKS cluster:
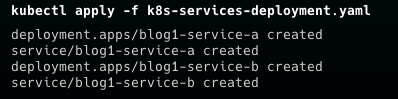
Start by applying your Kubernetes manifest file, which contains definitions for your services, deployments, and other necessary resources.
kubectl apply -f k8s-services-deployment.yaml
To ensure your services are correctly deployed and accessible, list them by running:
kubectl get services -n aws-eks-istiomesh-ns
This command lists all services within the aws-eks-istiomesh-ns namespace, allowing you to verify they’re up and running.
To check the status of the pods within the same namespace, execute:
kubectl get pods -n aws-eks-istiomesh-ns
This will display the status of all pods, helping you to confirm they are in a healthy state.
Deploying Istio Gateway and Virtual Service
After your application is deployed, you might want to control the ingress traffic using Istio’s Gateway and Virtual Service resources. These allow for more sophisticated traffic management capabilities. Here’s how to set them up:
Apply the Istio Gateway manifest to manage ingress traffic for your application.
kubectl apply -f blog1-gateway.yaml
To verify the gateway’s configuration and ensure it’s correctly set up, describe the gateway:
kubectl describe gateway blog1-gateway
This command provides detailed information about the gateway, including its rules and attached Virtual Services.
Apply the Virtual Service manifest to define how traffic is routed to different services within your mesh.
kubectl apply -f blog1-service-a-virtualservice.yaml
Confirm that the Istio Ingress Gateway service is operational:
kubectl get svc istio-ingressgateway -n istio-system

This command lists the Istio Ingress Gateway service, providing its cluster IP, external IP (if available), and ports, ensuring that your ingress setup is ready to route external traffic into your service mesh.
Setting Up Kiali for Istio
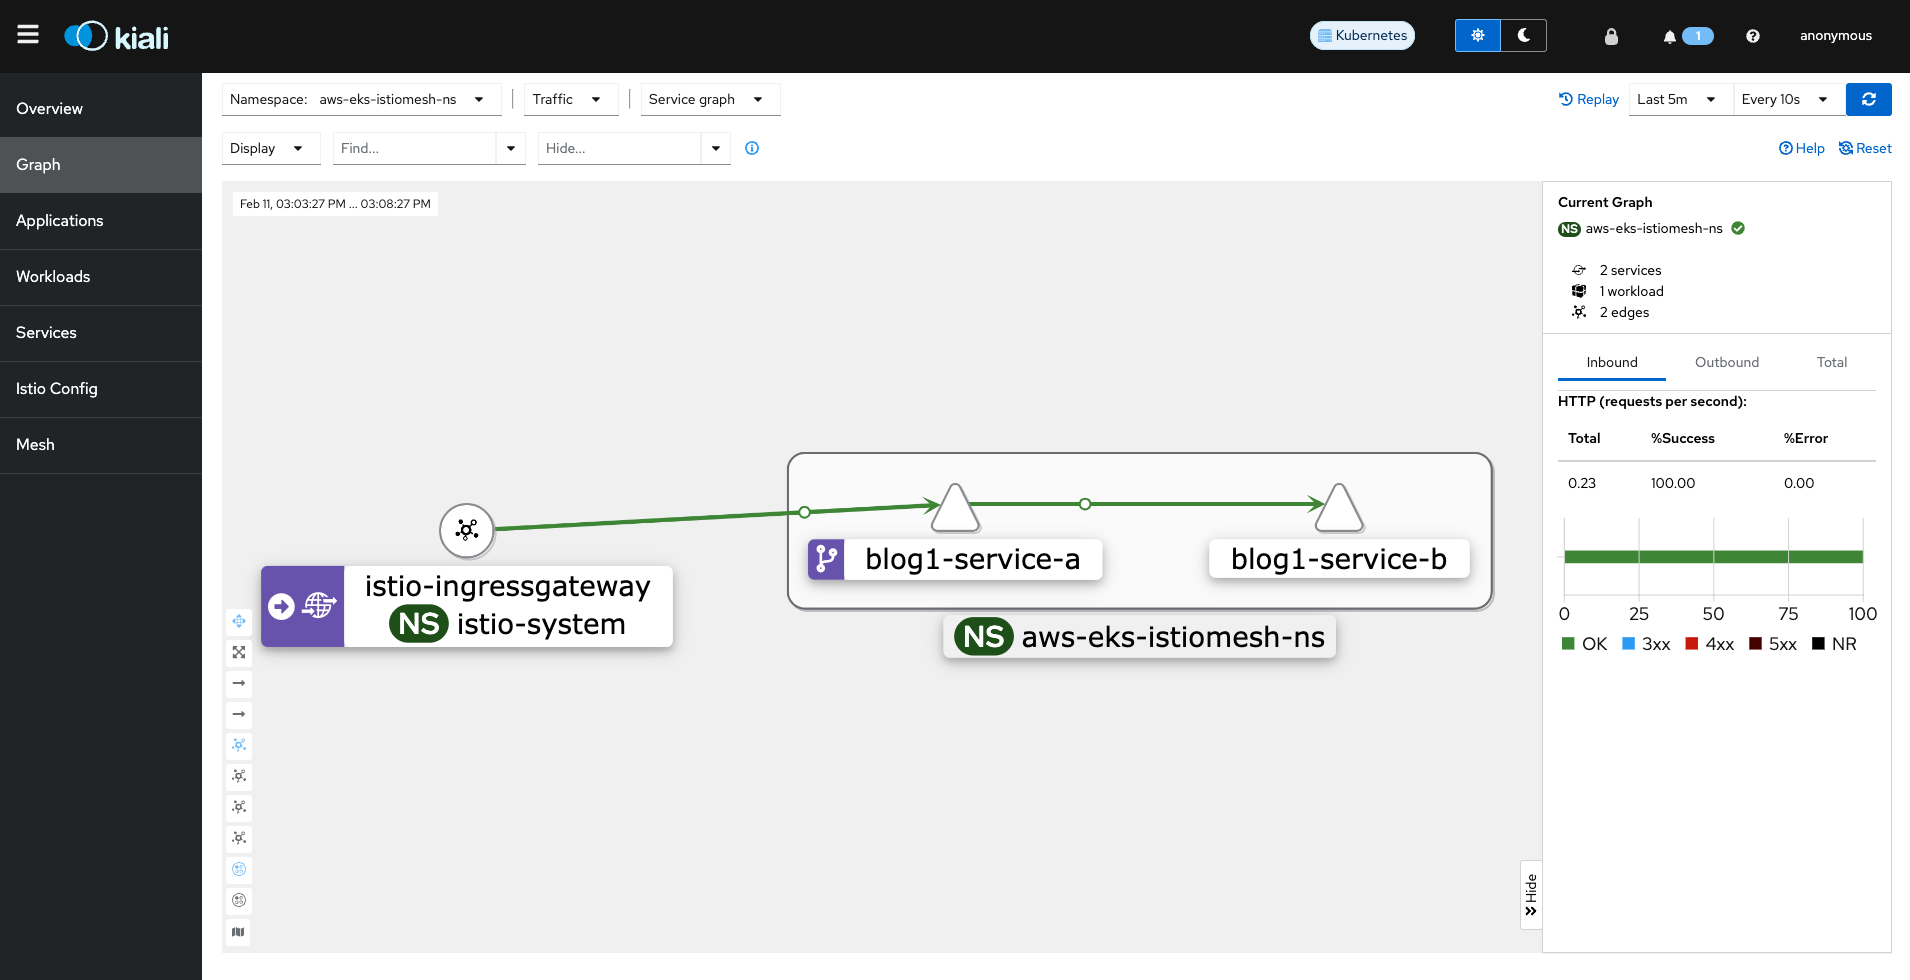
Finally, use the Istio dashboard to monitor the performance of your services and manage traffic rules. The dashboard provides valuable insights into the operation of your microservices and allows you to make informed decisions about scaling updates and configuration changes.
Kiali is an observability console for Istio, offering insights into how microservices are connected and providing features like tracing and monitoring to understand their behavior and health. Here’s how to deploy Kiali in your Istio-enabled Kubernetes cluster:
Apply the Kiali manifest from the Istio samples directory to deploy Kiali and other useful addons like Prometheus, Grafana, and Jaeger. Ensure you replace /Users/jvelliah/downloads/istio-1.20.3 with the correct path to your Istio installation directory:
kubectl apply -f /Users/jvelliah/downloads/istio-1.20.3/samples/addons
This command applies all addon manifests found in the directory, setting up Kiali and other tools for your Istio service mesh.
After deploying Kiali, it’s important to ensure that the Kiali deployment is successful and that the Kiali pod is running. Use the following command to check the deployment status:
kubectl rollout status deployment/kiali -n istio-system

This command monitors the rollout status of the Kiali deployment in the istio-system namespace, letting you know when the deployment has successfully completed.
To access the Kiali dashboard and start exploring the service mesh, use the istioctl dashboard command:
istioctl dashboard kiali
This command opens a proxy connection to the Kiali dashboard, allowing you to view it in your web browser. You’ll be able to observe your service mesh topology, analyze service interactions, and inspect the health and metrics of your microservices.
Testing Your Service Using a Simple Load Test Script
After setting up Kiali for observability within your Istio service mesh, it’s crucial to assess how your service handles traffic. To facilitate this, a simple load testing script is available in my GitHub repository, designed to simulate requests to your service for a specified duration. This script helps evaluate the performance and stability of your service under load.
Find the load_test.sh script in the repository. This script is pre-configured to send HTTP requests to your service’s endpoint.
Edit the load_test.sh file to specify your service’s URL by replacing the placeholder http://your-service-url with the actual URL provided by your Istio Ingress Gateway.
Ensure the script is executable: chmod +x load_test.sh
Execute the script: ./load_test.sh

Now the script sends HTTP requests to your service for a set duration (default 120 seconds), simulating a continuous load.
This straightforward testing method complements the observability features of Kiali, offering a practical tool to ensure your service is prepared to handle user traffic effectively.
Clean Up Your Cluster
To remove your Amazon EKS cluster and associated resources, ensuring no further costs, use the following command in your terminal.
Note: Confirm the cluster name and region before executing to avoid unintended deletions.
eksctl delete cluster --name aws-eks-appmesh-cluster --region=us-east-1 --wait
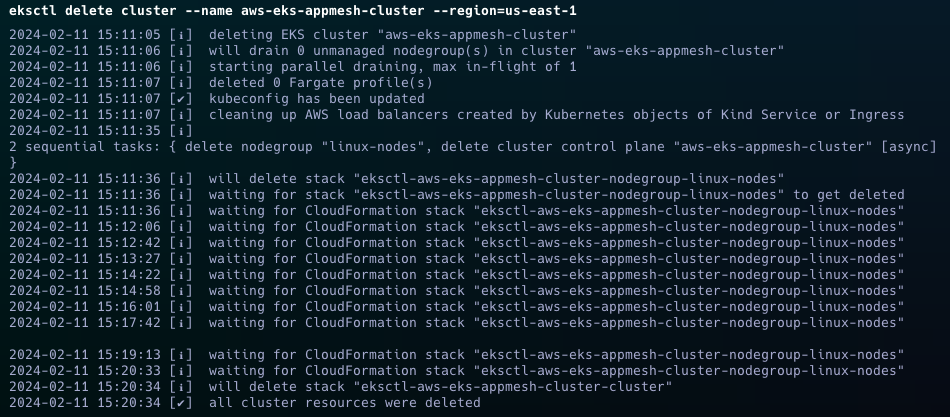
This command deletes the specified EKS cluster and waits until the operation completes, freeing up all related resources.
Wrap-Up
Deploying microservices on Amazon EKS with Istio provides a scalable, secure, and efficient way to manage service-to-service communication in a cloud-native environment. By following the steps outlined in this guide, you can leverage the power of Istio to simplify the complexity of microservices architecture, allowing you to focus on developing and deploying your applications.