If you want your SharePoint add-in to appear in SharePoint Store, you need to submit it to the Seller Dashboard for approval. You can add and save your submission as a draft in your Seller Dashboard account until you’re ready to submit it for approval.
Prerequisites
- Familiarize yourself with the AppSource validation policies
- Seller dashbaord account
- Add-in file in .app format
- App logo
- App screenshots specific to supported languages
Steps
This section lists the steps involved in submitting your SharePoint add-in in the Seller Dashboard.
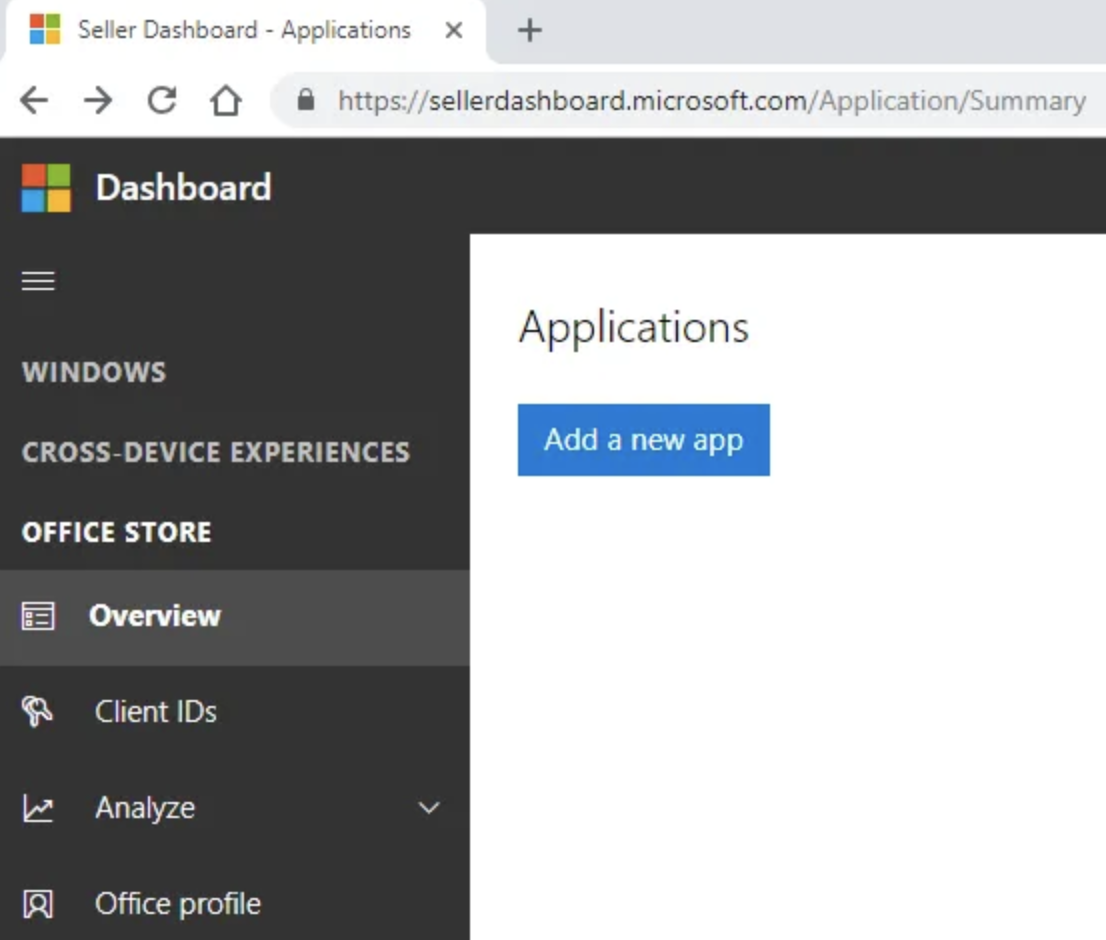
Add a new app
On the overview page, click on Add a new app button
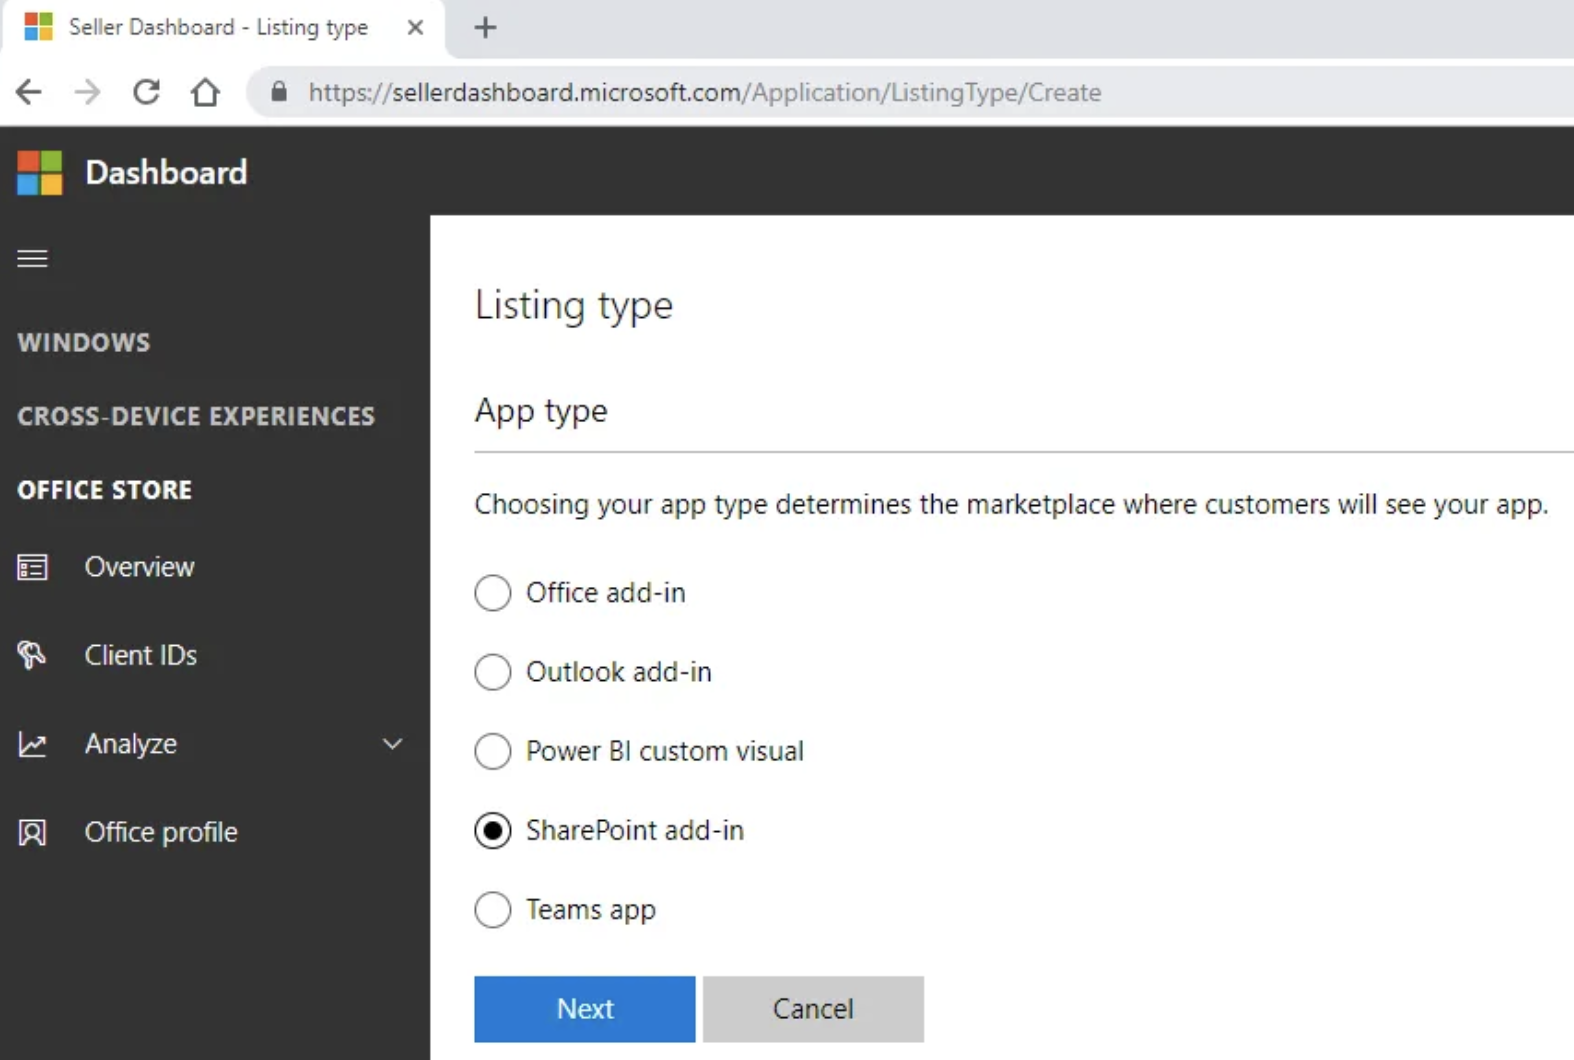
Listing type
On the listing type page, select SharePoint add-in and click next
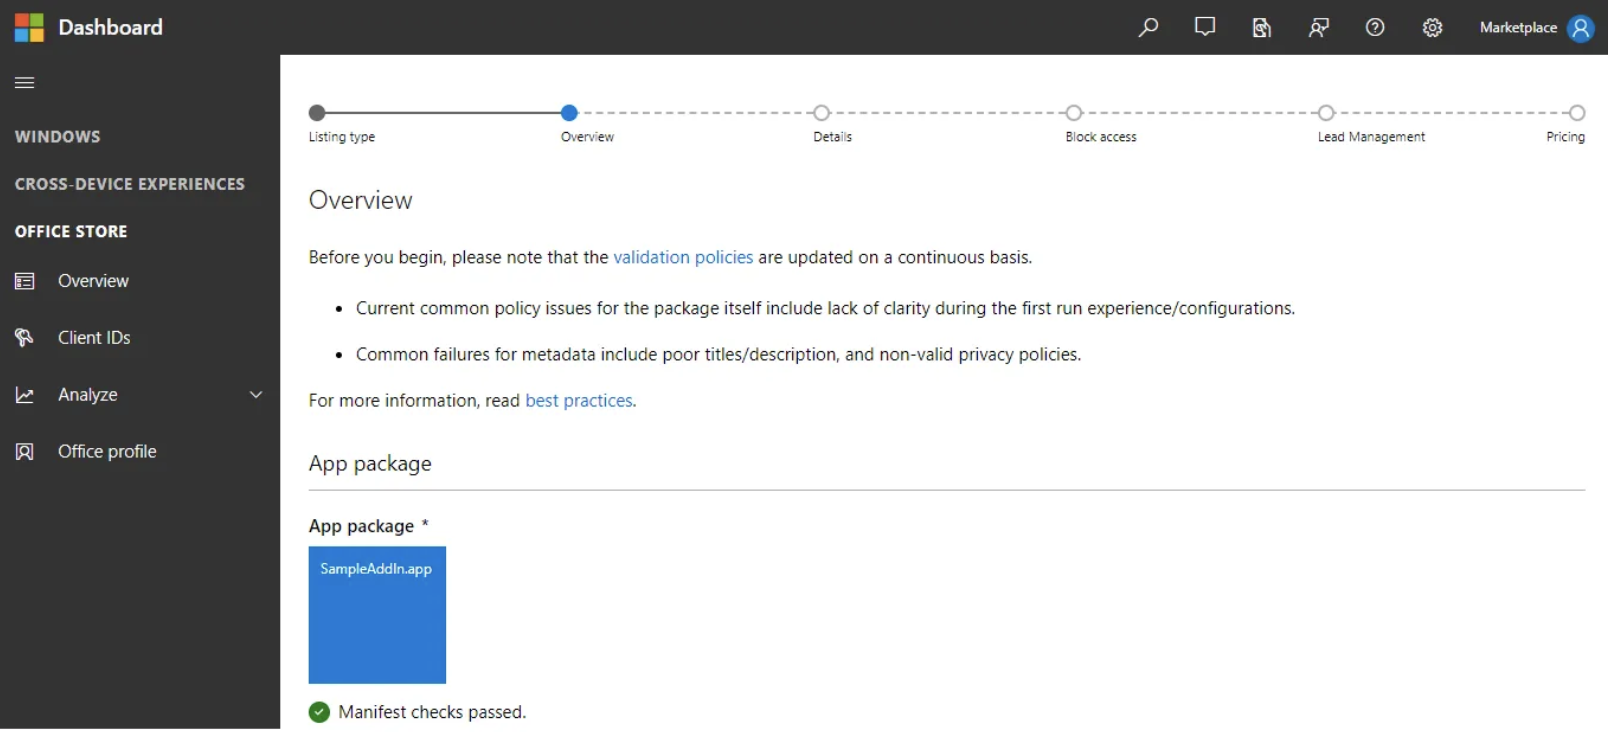
Upload package
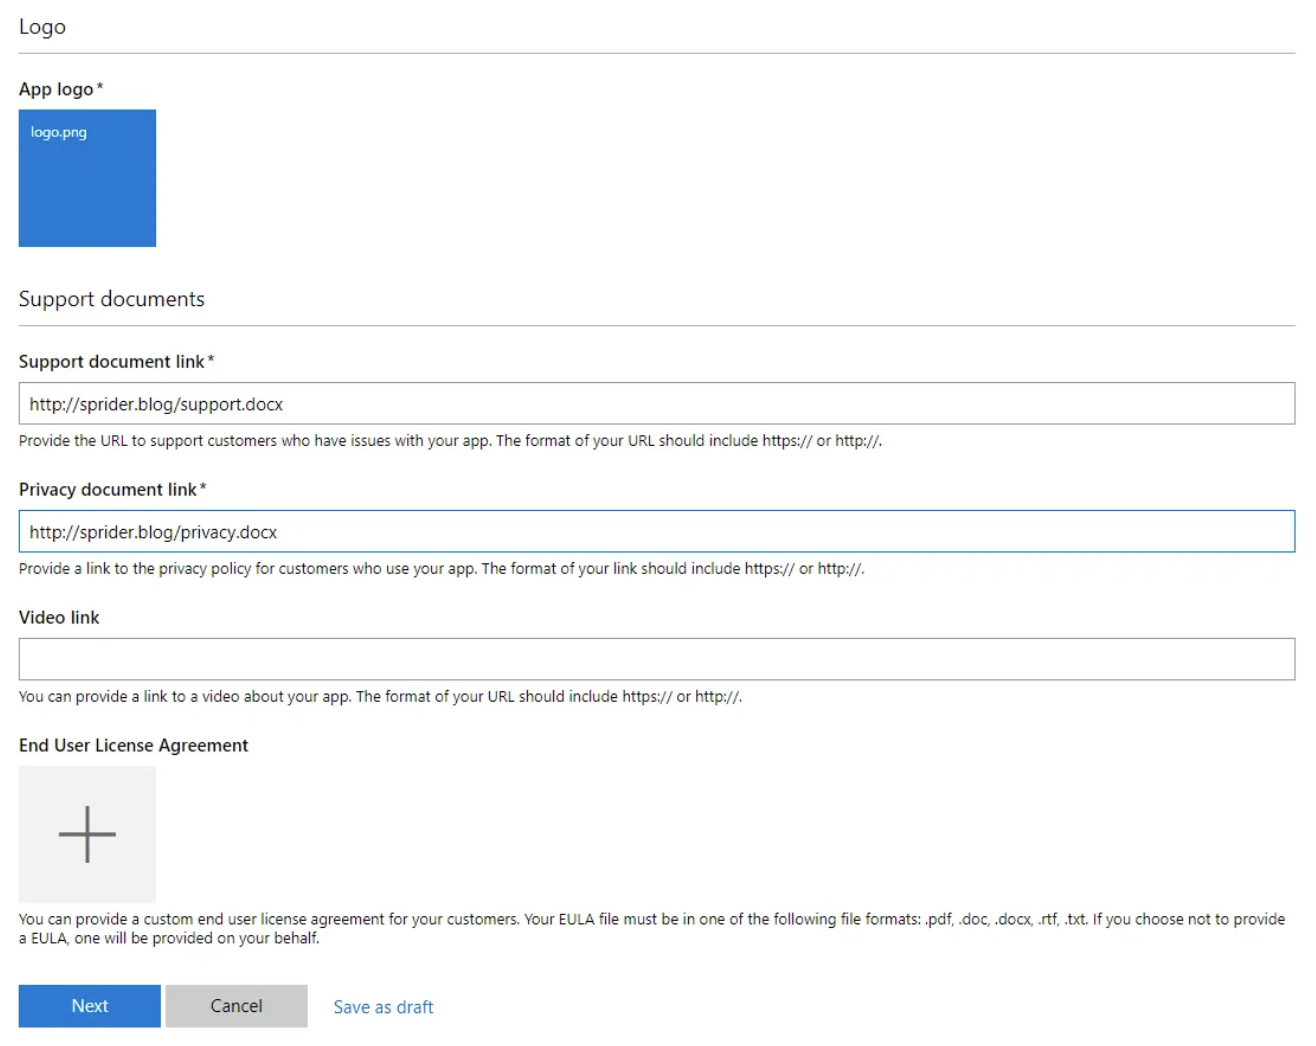
On the overview page, provide the mandatory field details as shown below and click next
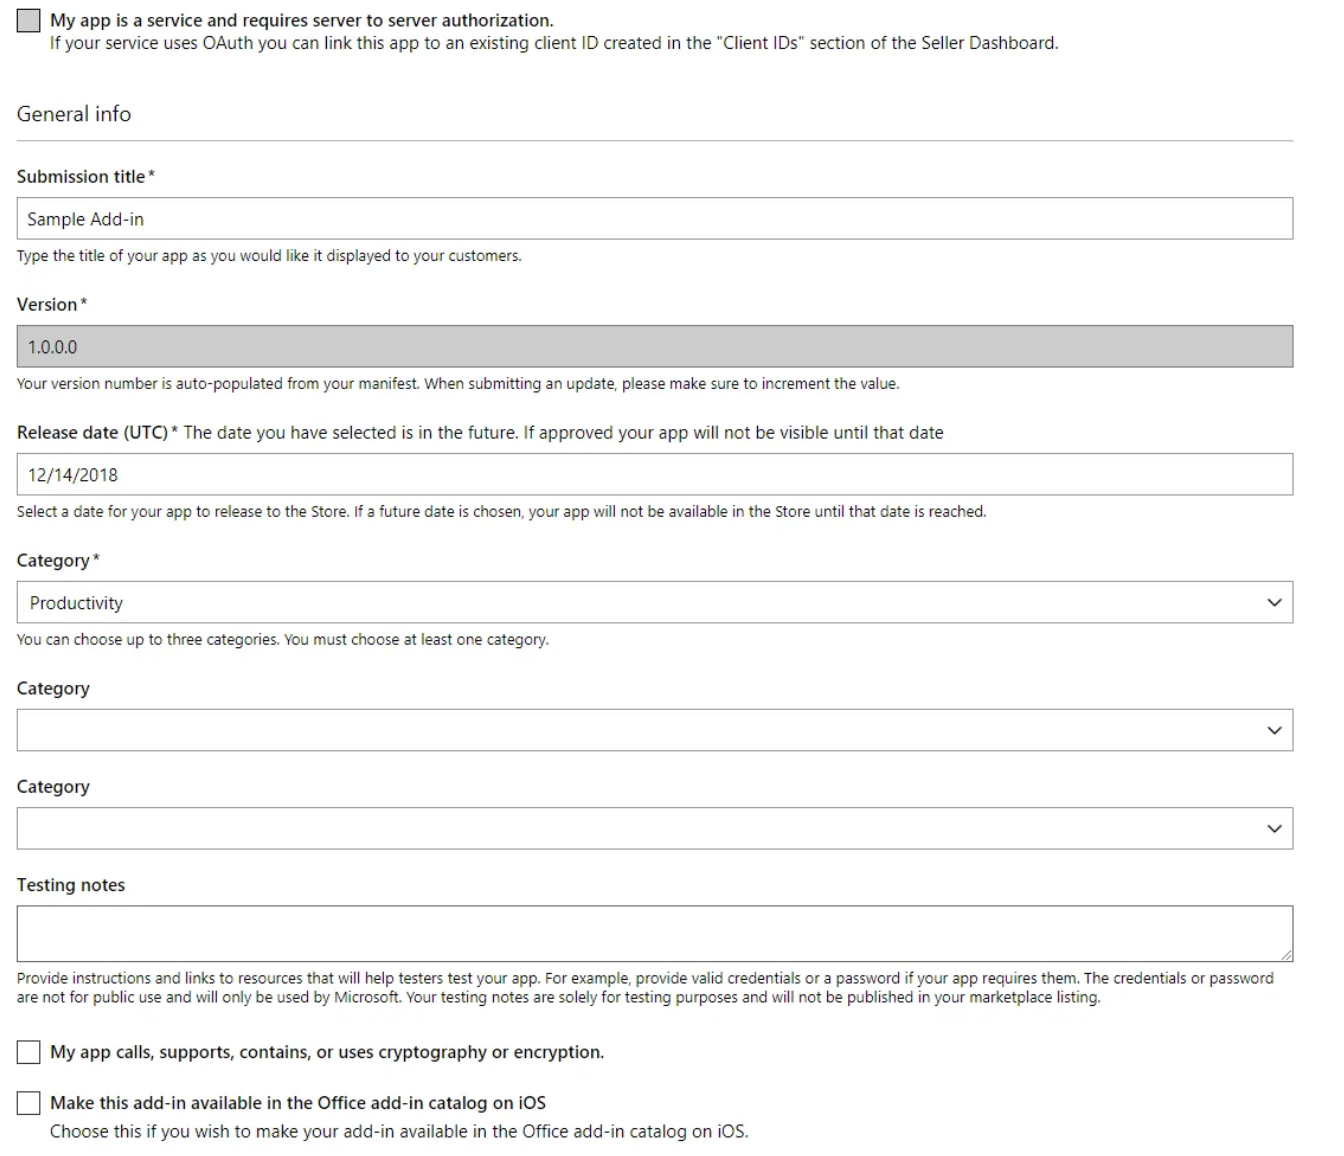
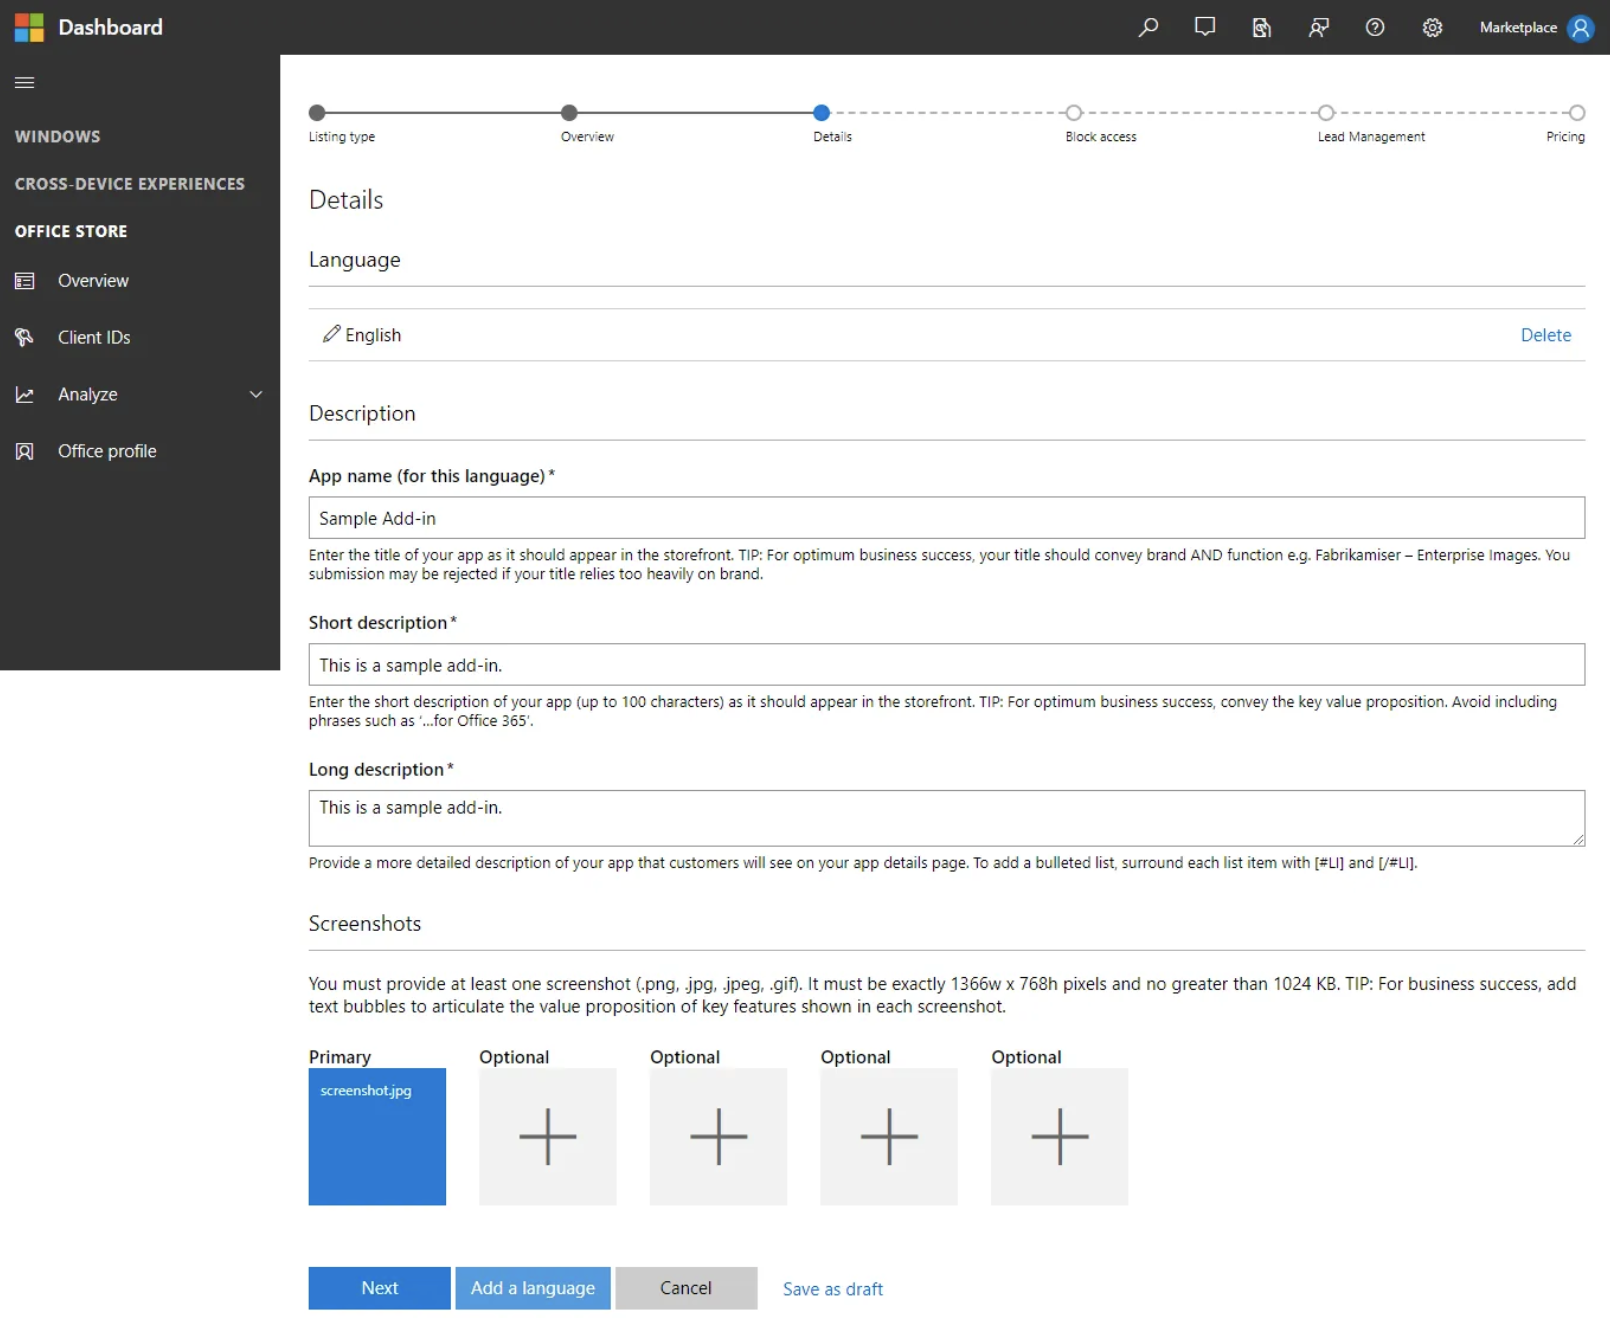
Language details
On the details page, select the necessary languages and provide the mandatory field details as shown below and click next
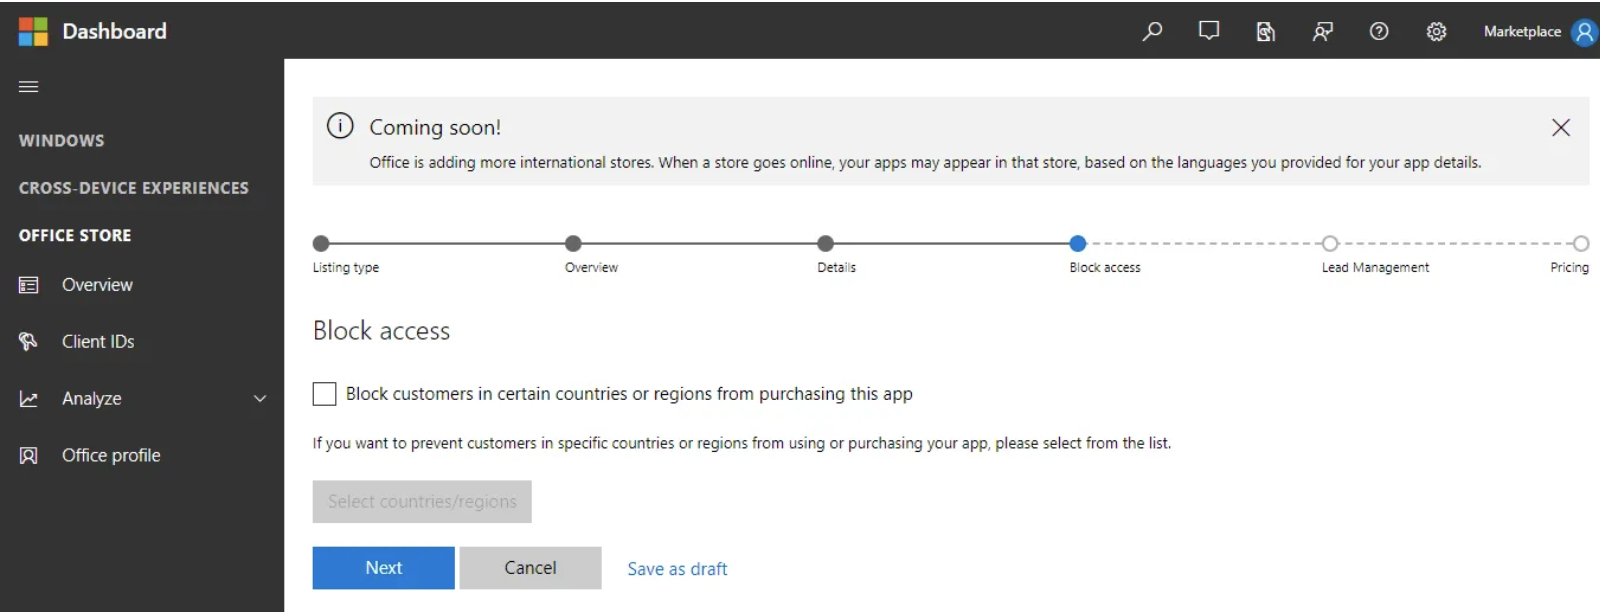
Block access
If you want to prevent the app purchases, select the countries / regions
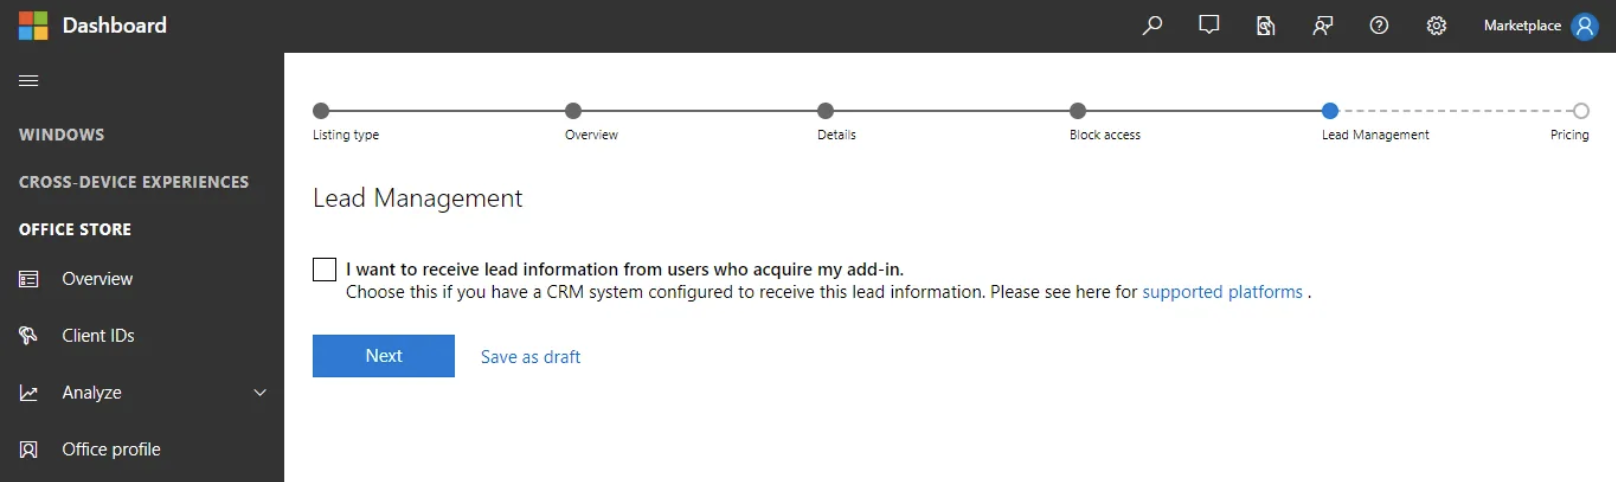
Lead management
To get information about users who acquire your add-in, you can submit lead configuration details for your customer relationship management (CRM) system in the Seller Dashboard.
Pricing model
Choose the pricing model fits your need

Save as Draft or Submit
On your summary page, select EDIT DRAFT and make your changes. Select SUBMIT FOR APPROVAL. After your seller account is approved, you can submit your add-in to the Seller Dashboard. You can make changes at any point before you submit for approval, but during the approval process, you won’t be able to make any changes.
